User interface with JavaFX
GITHUB PROJECT: https://github.com/Pi4J/pi4j-example-javafx
JavaFX is a framework to create user interfaces for desktop (Windows, Mac, Linux) and mobile phones. JavaFX is an opensource project which is documented on openjfx.io and the sources are available in this GitHub project.
The main goal of Java has always been to be able to create applications which are “write once, run everywhere”. JavaFX promises the same for Graphical User Interface applications.
Gluon is the main maintainer of the OpenJFX project and offers commercial support to companies who want to use JavaFX in critical applications. They also provide tools to build and compile Java code to native applications for all platforms.
Developing a JavaFX Application
The best part of Java is the “Write Once, Run Everywhere”. This means you can develop your application on any PC (Windows, Mac, Linux) and run it on any other one of these (yes even on mobile) with the exact same look-and-feel and behavior. The only limitation is the part you develop specifically for the Raspberry Pi: controlling the GPIOs with Pi4J.
The most used IDE for Java development is IntelliJ IDEA, which is not available for Raspberry Pi. If you are using it on your PC and want to learn more about the best approach to get started with JavaFX, read this great tutorial “Beginning JavaFX Applications with IntelliJ IDEA” by Carl Dea.
JavaFX on Raspberry Pi
JavaFX is also an ideal framework to build Java applications with a user interface for the Raspberry Pi!
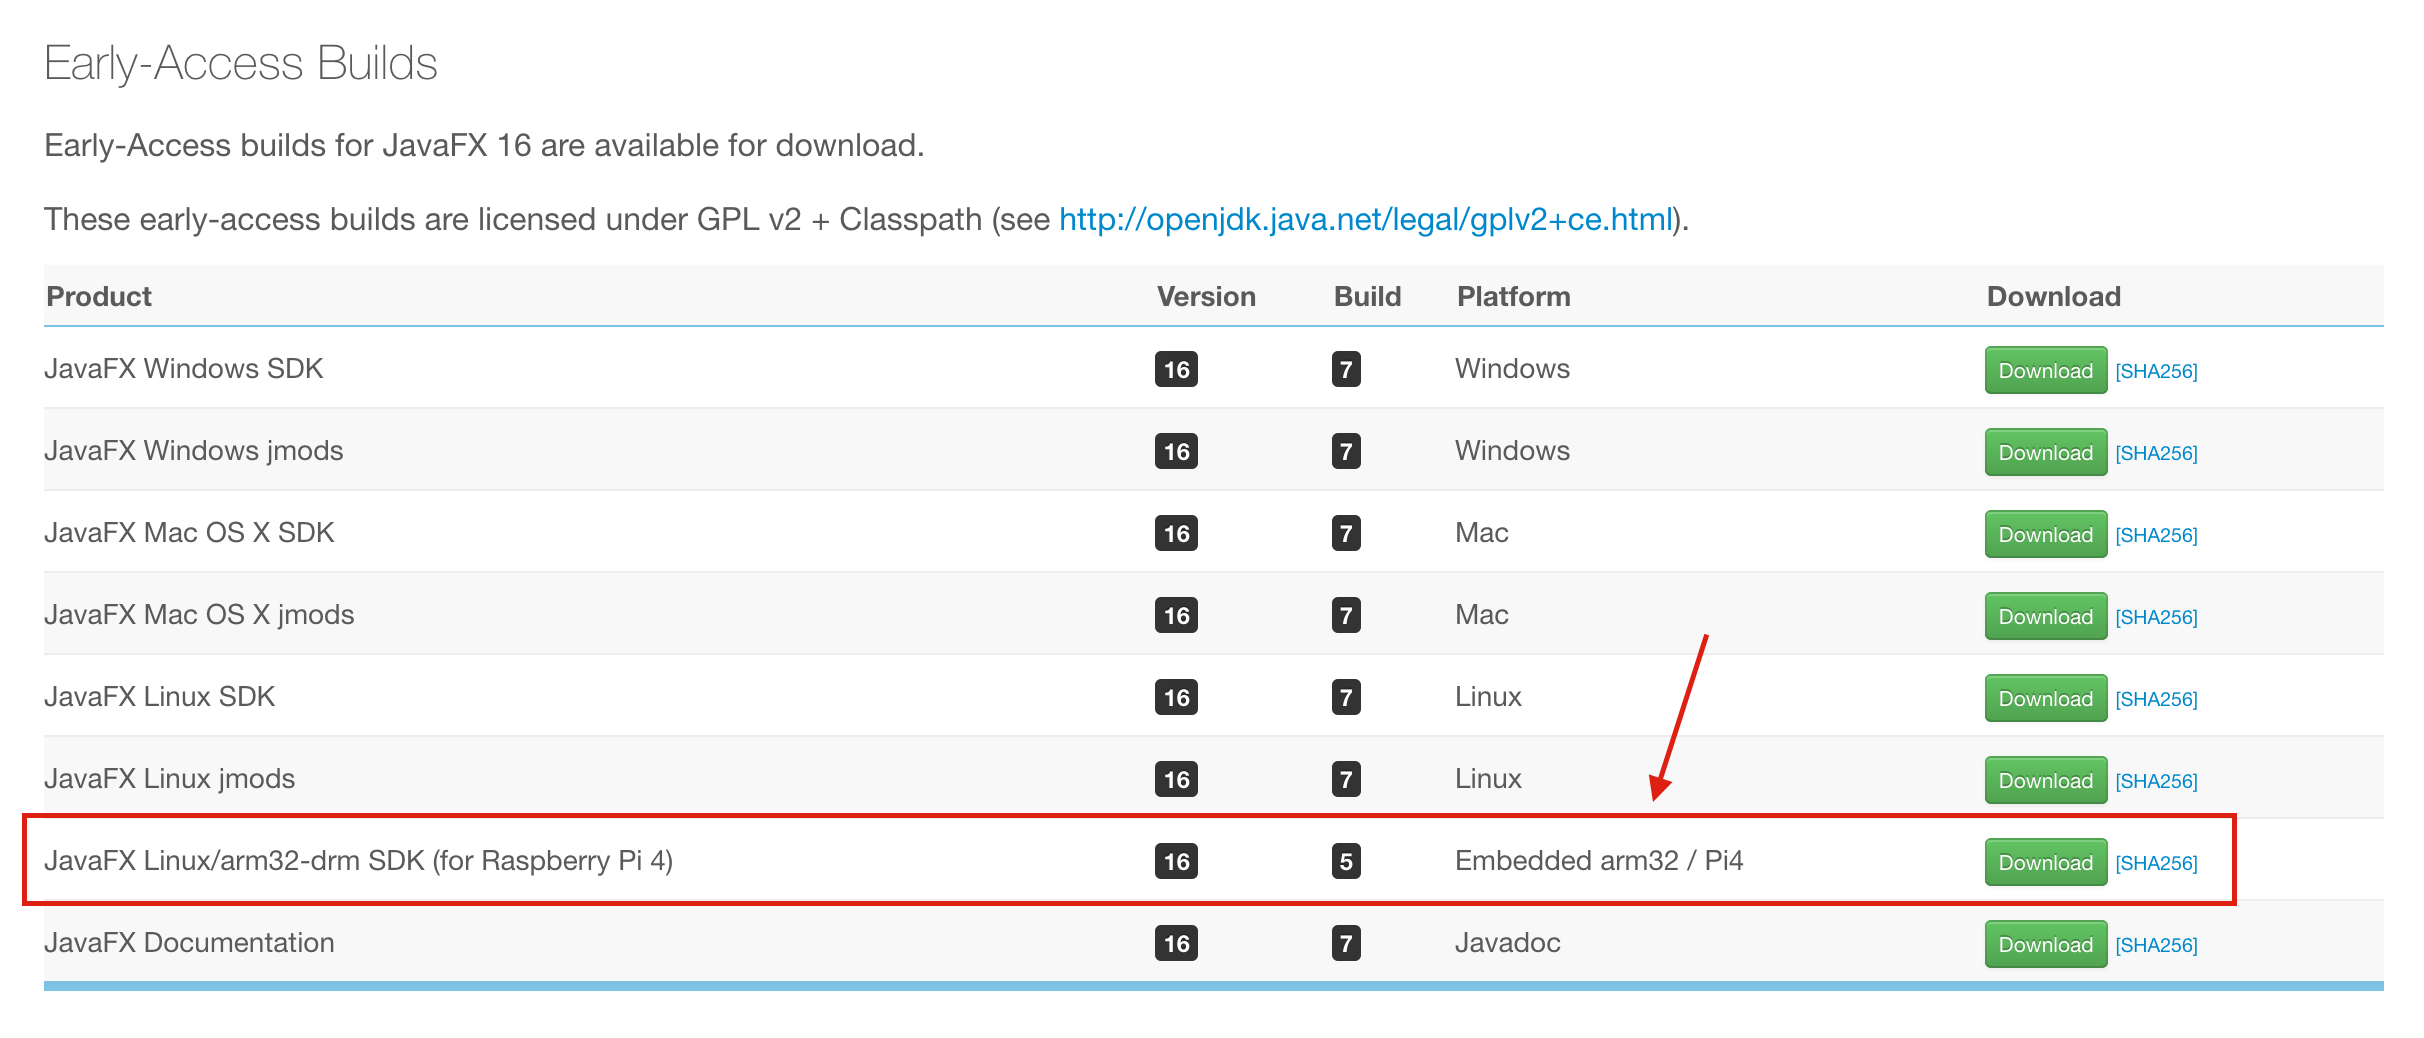
You can find a runtime version dedicated to the Raspberry Pi on the Gluon download page. Let’s install it on our board, so we can start Java+JavaFX applications which make best use of the capabilities of the Raspberry Pi.
Installation
To get the latest version on your Raspberry Pi, first check the Gluon download page for the download link.
Copy the link and use it with wget to download the file:
- Download the file
$ wget -O openjfx.zip https://gluonhq.com/download/javafx-17-ea-sdk-linux-arm32/
- Unzip the file
$ unzip openjfx.zip
- Move the unzipped directory to the opt-directory (optionally, but it’s a logical place)
$ sudo mv javafx-sdk-17/ /opt/javafx-sdk-17/
Start an Application
Now the OpenJFX-runtime is available on our Raspberry Pi, we can start each Java application which was compiled to a JAR with some additional parameters to run it with the best rendering support.
The additional arguments are needed to link to the downloaded JavaFX library and select the correct Monocle platform.
java \
  -Dglass.platform=gtk \
  -Djava.library.path=/opt/javafx-sdk-17/lib \
  -Dmonocle.platform.traceConfig=false \
  -Dprism.verbose=false \
  -Djavafx.verbose=false \
  --module-path .:/opt/javafx-sdk-17/lib \
  --add-modules javafx.controls \
  --module {YOUR_MAIN_CLASS} $@
Minimal Example Application
Sources
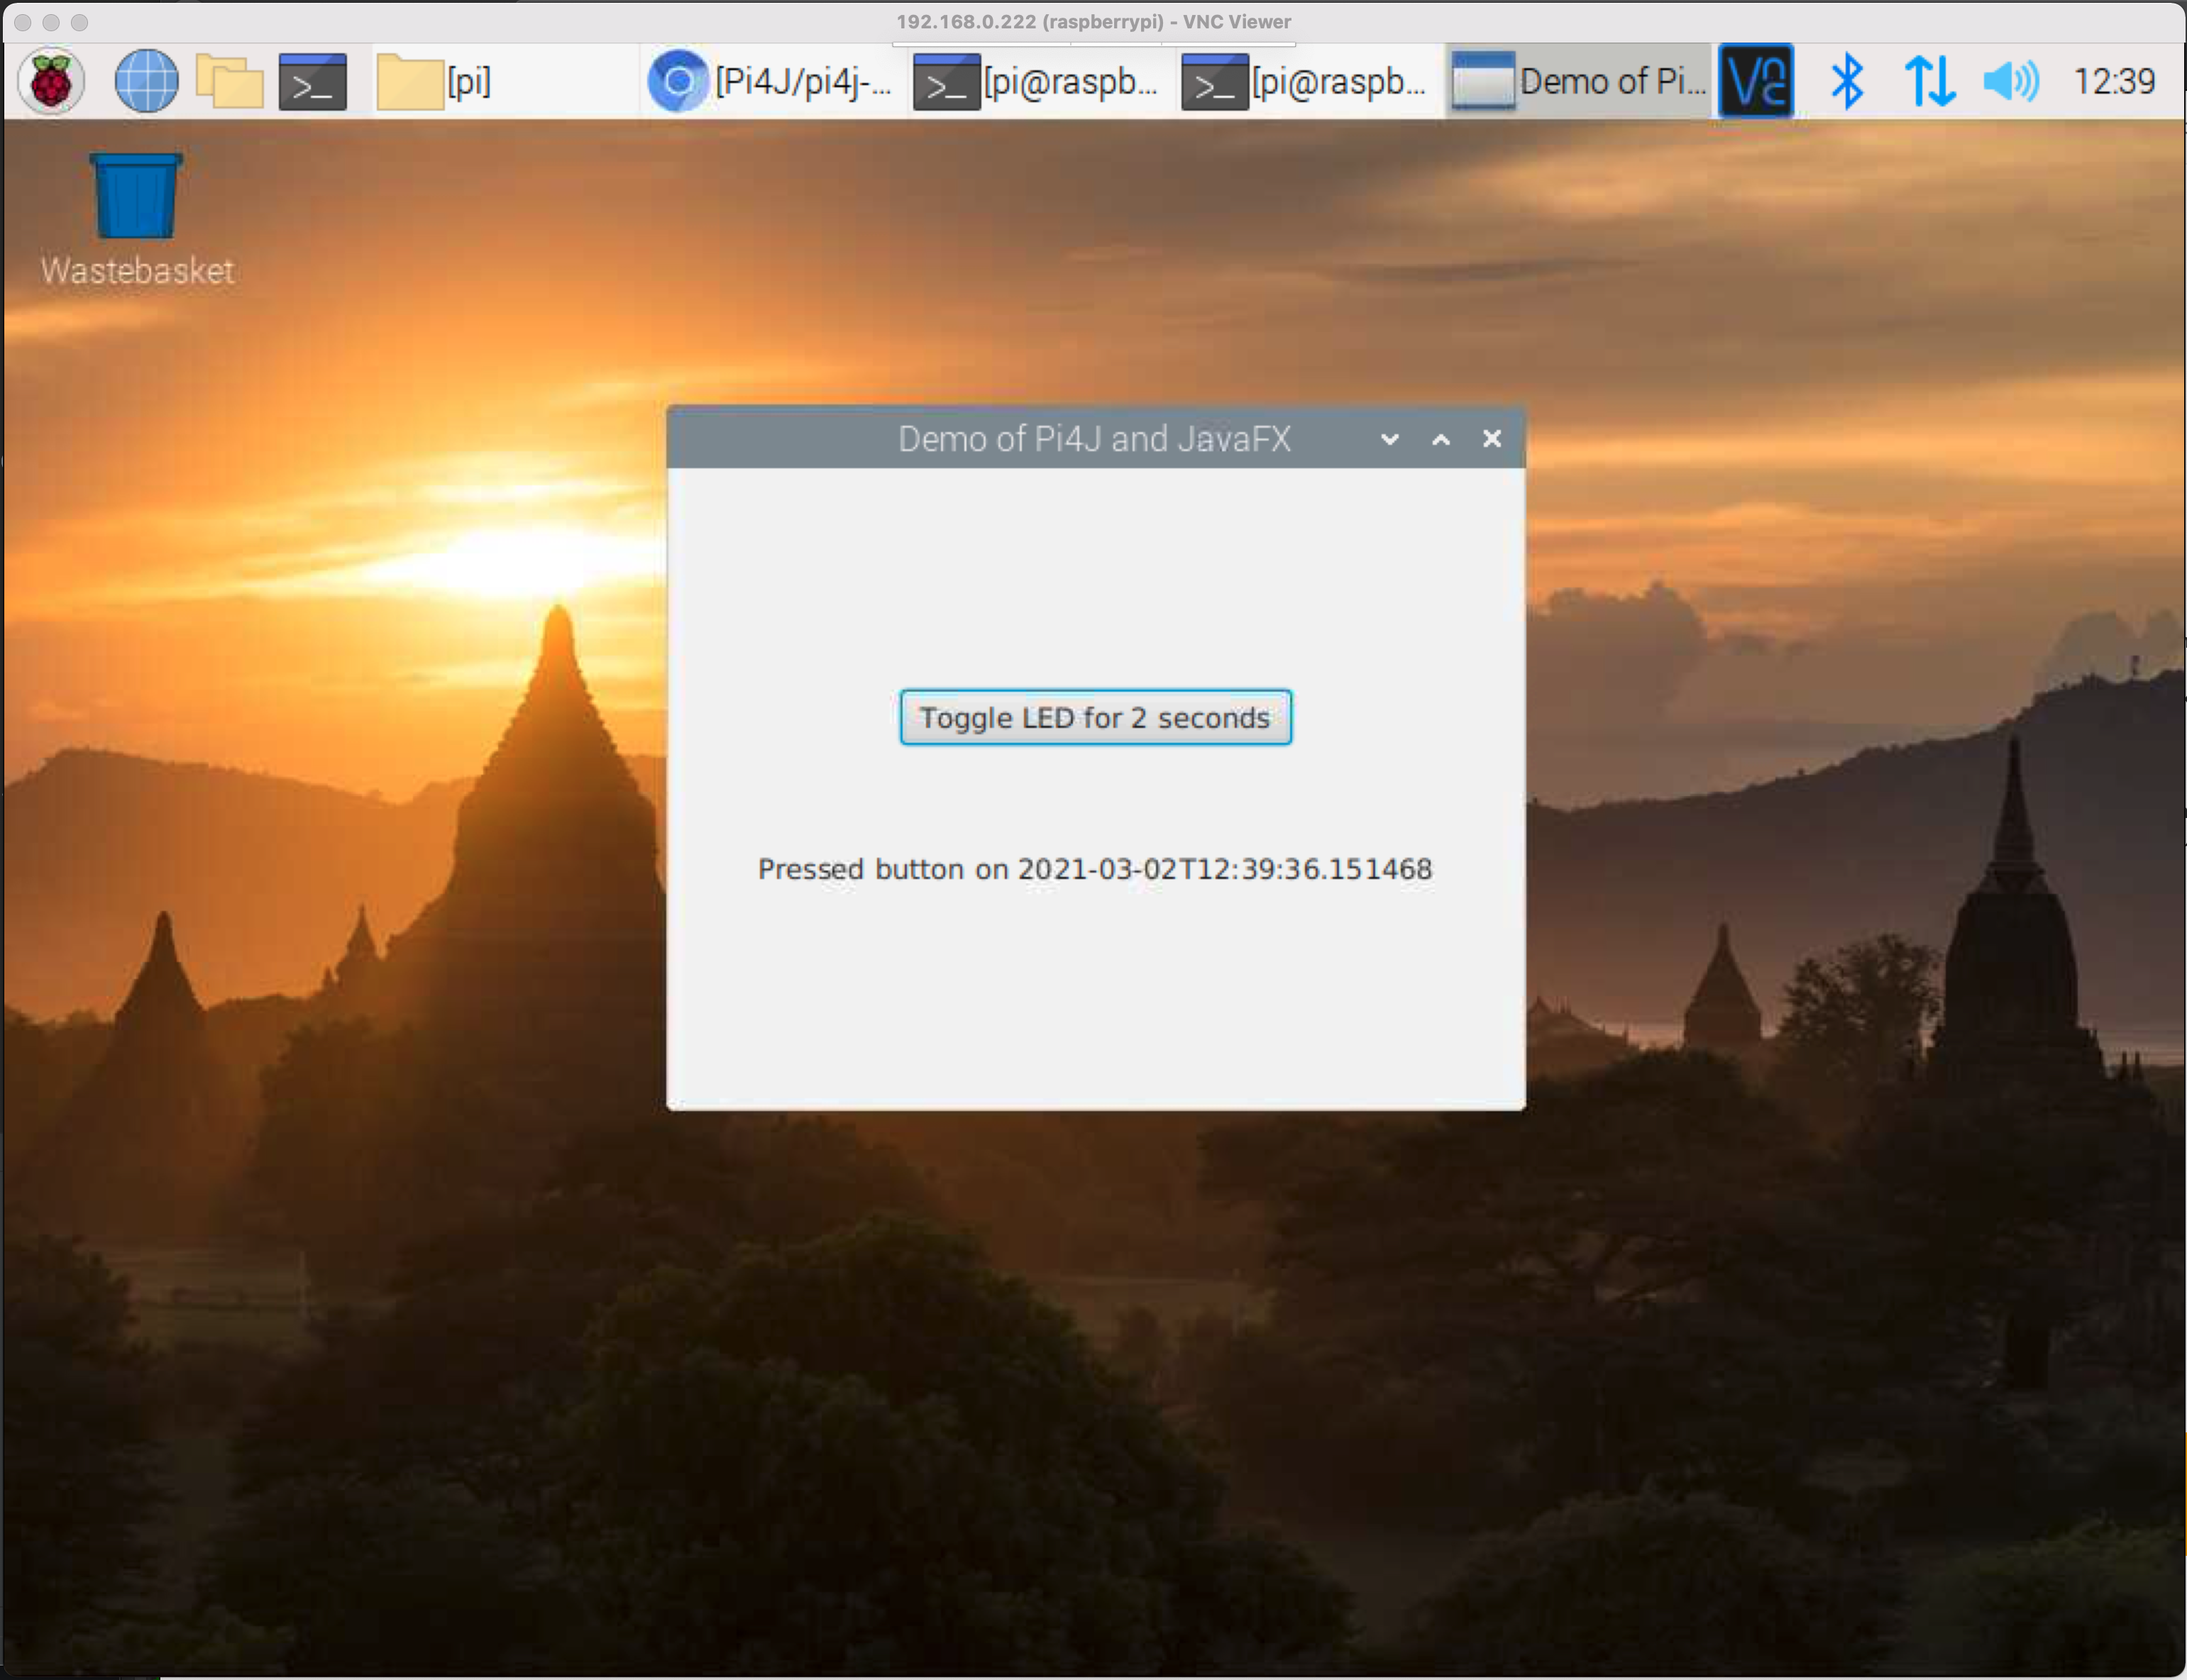
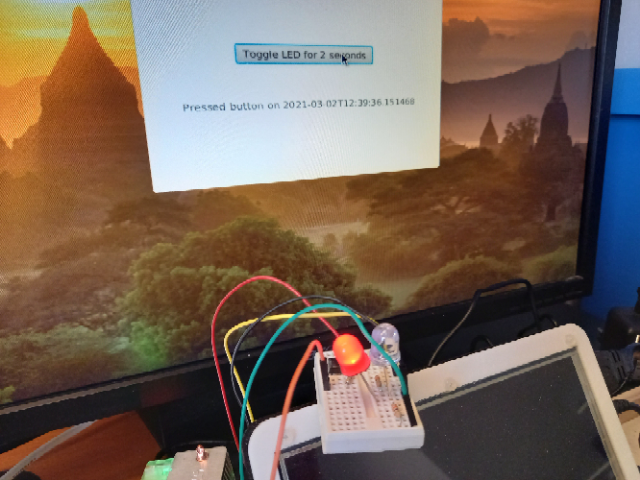
In this repository https://github.com/Pi4J/pi4j-example-javafx, a minimal example project is provided which combines Java, JavaFX, Pi4J and a few buttons. The wiring for this example is identical to the Minimal example application with a single LED and button.

Steps to Test the Application
- Download the sources to your Raspberry Pi
$ git clone https://github.com/pi4j/pi4j-example-javafx
- Move to the downloaded directory
$ cd pi4j-example-javafx
- Build the project
$ mvn package
- Move to the target > distribution directory
$ cd target/distribution
- Run the application with the provided run-script
$ sudo ./run.sh