BME280 Sensor
BME280 Sensor (temp, humidity, pressure) via Pi4J, I2C, and JBang
GITHUB PROJECT: github.com/Pi4J/pi4j-jbang > Pi4JTempHumPressI2C.java and github.com/Pi4J/pi4j-jbang > Pi4JTempHumPressSpi.java
Intro
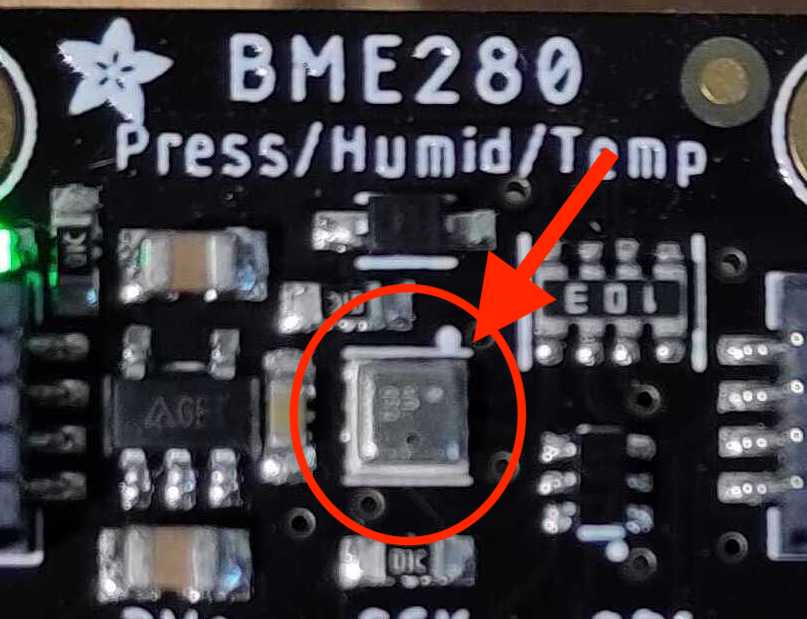
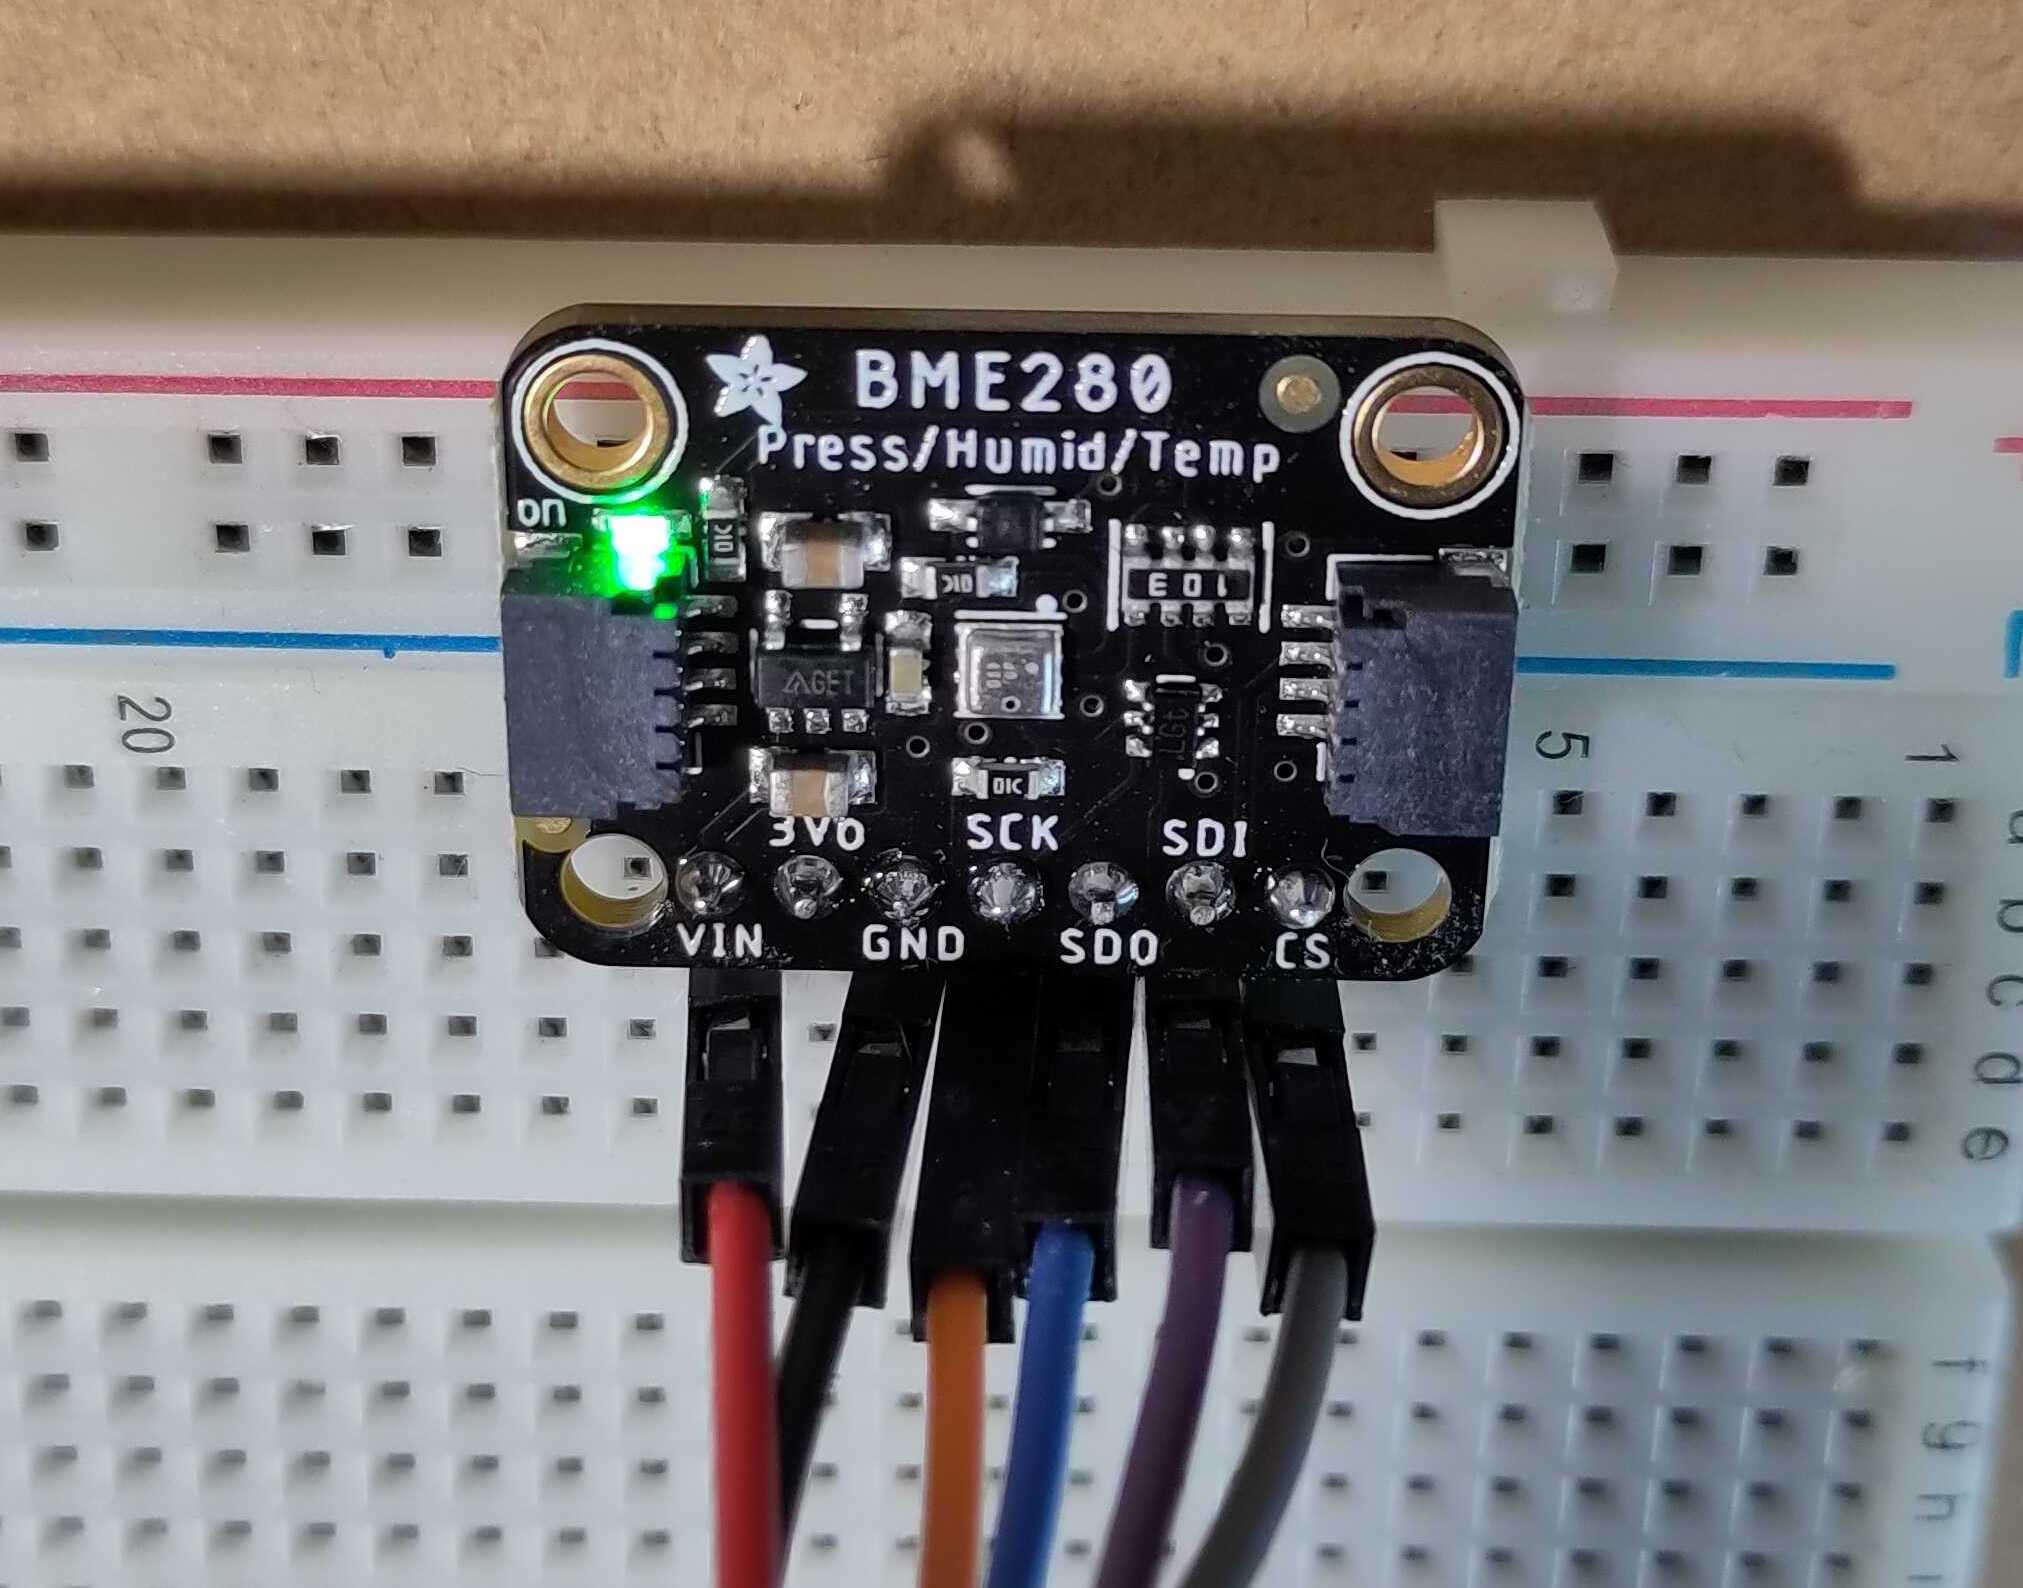
This is an example project to demonstrate how to read the temperature, humidity and pressure from a BME280 sensor, installed on an Adafruit board that can be controlled via I2C and SPI. Such a sensor itself is a very tiny component that can be integrated in phones and many other types of devices.
Typically, when you want to integrate such a device in a project, you’ll need to dive into the Data Sheet to find out how it needs to be controlled. If you want to better understand the code from this example, you can check the Data Sheet as the register read-outs and calculations are based on the example code you can find in that document.
Video
This tutorial is also explained in this video:
Enable I2C and SPI
We will be using both I2C and SPI for this experiment, so we need to make sure they are enabled:
- Open a terminal
- Execute
sudo raspi-config - Go to “Interface Options”
- Go to “I2C” and select “Yes”
- Go to “SPI” and select “Yes”
Wiring
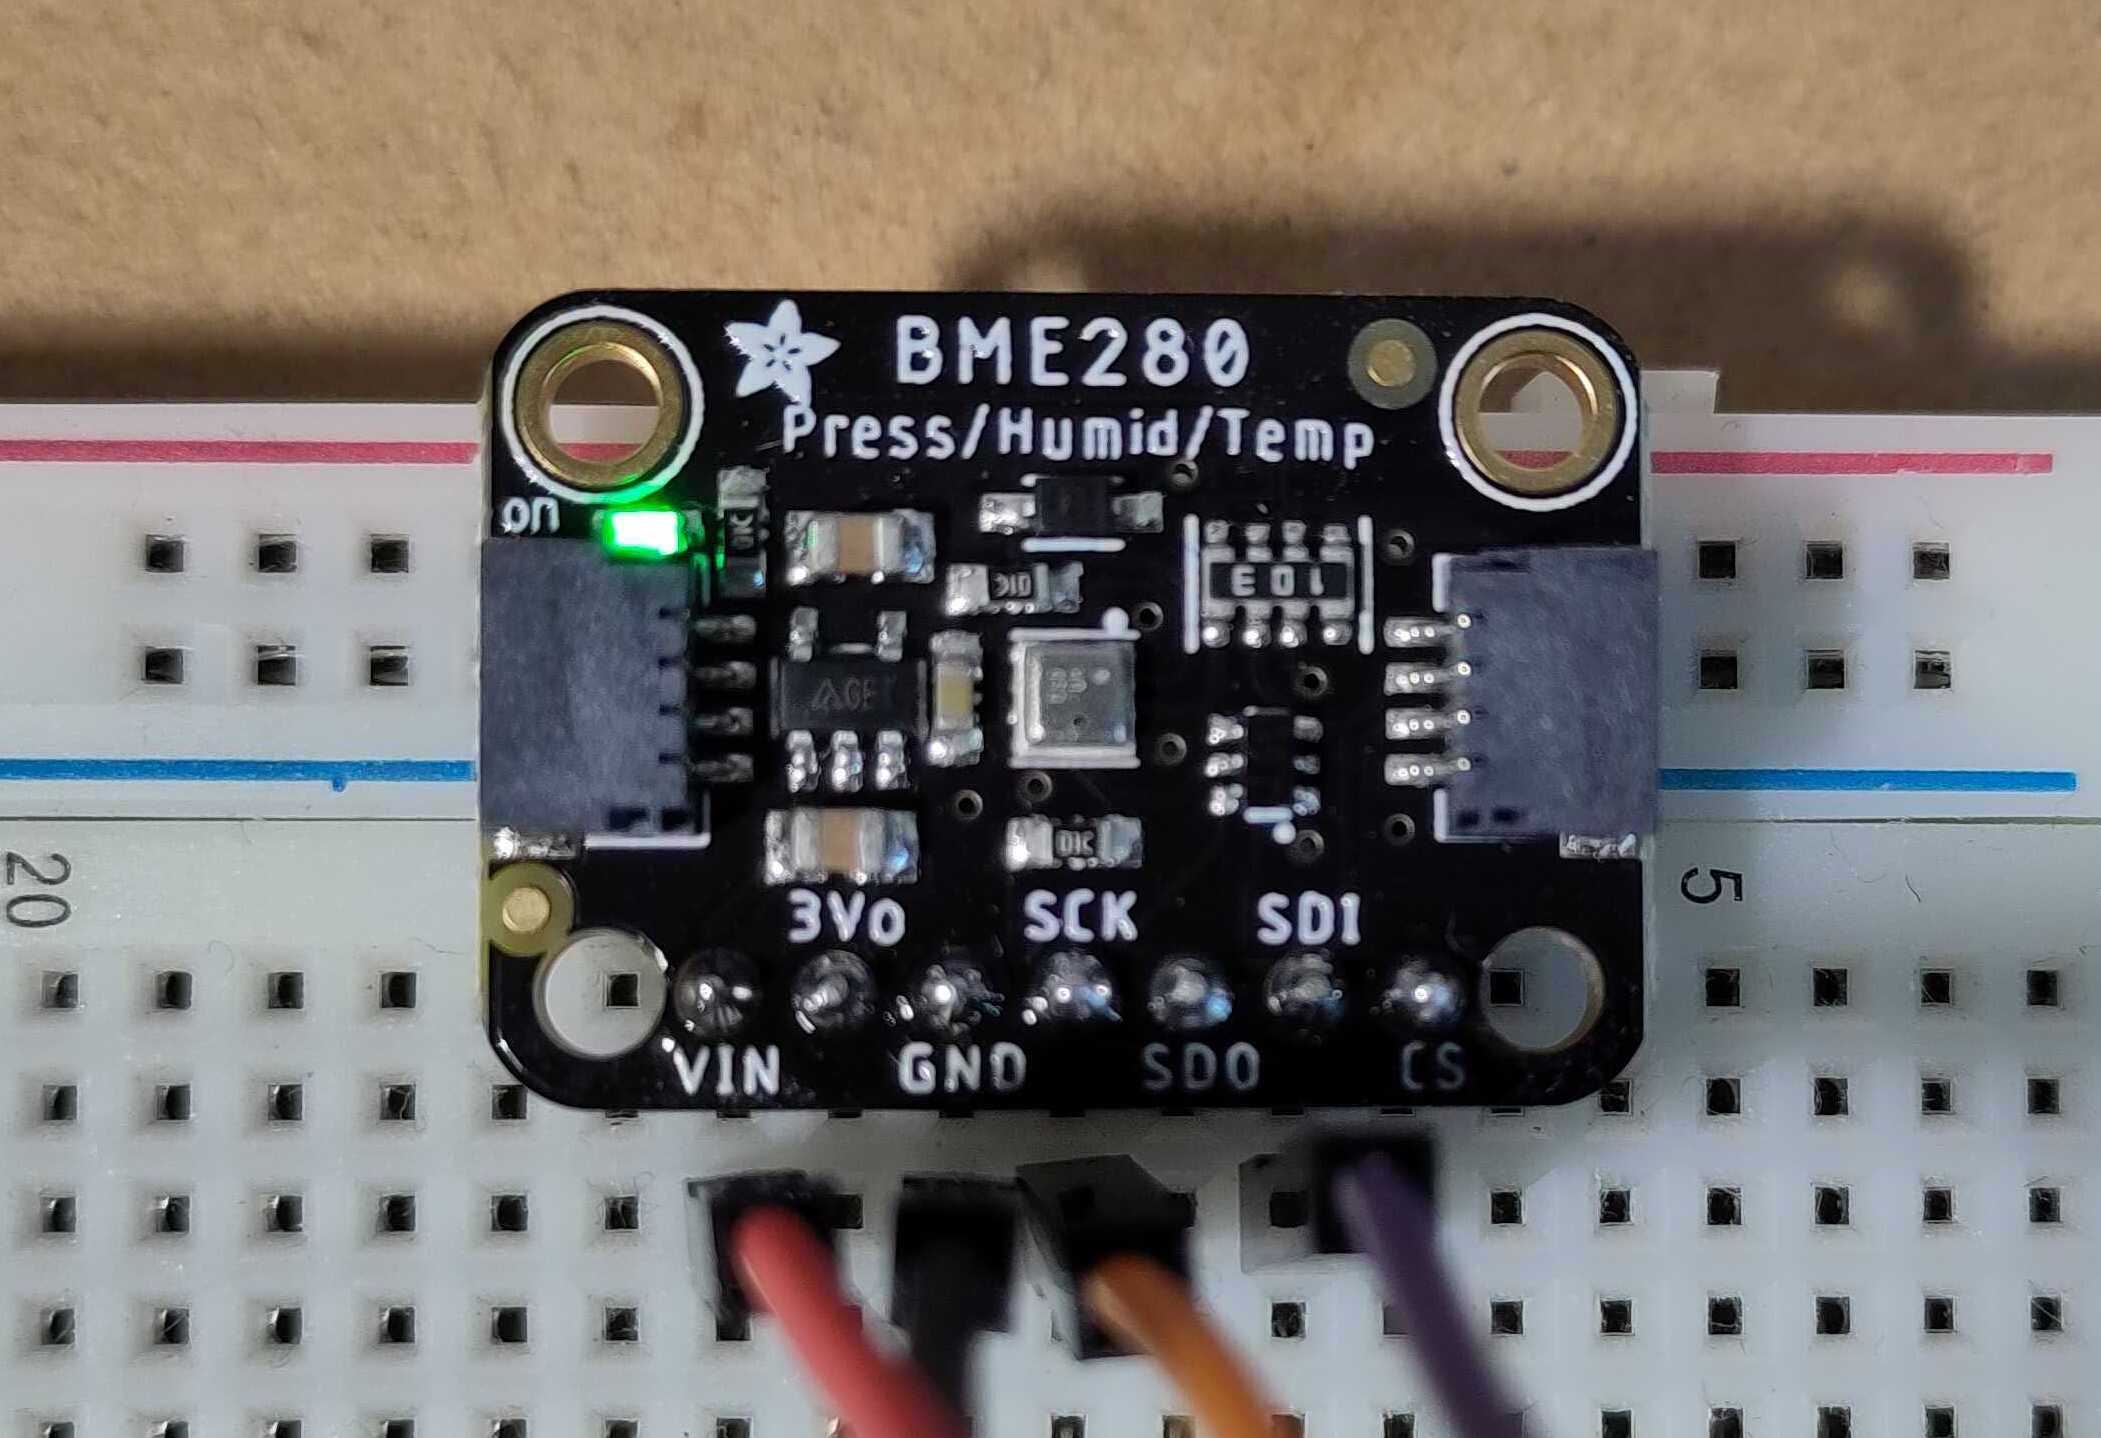
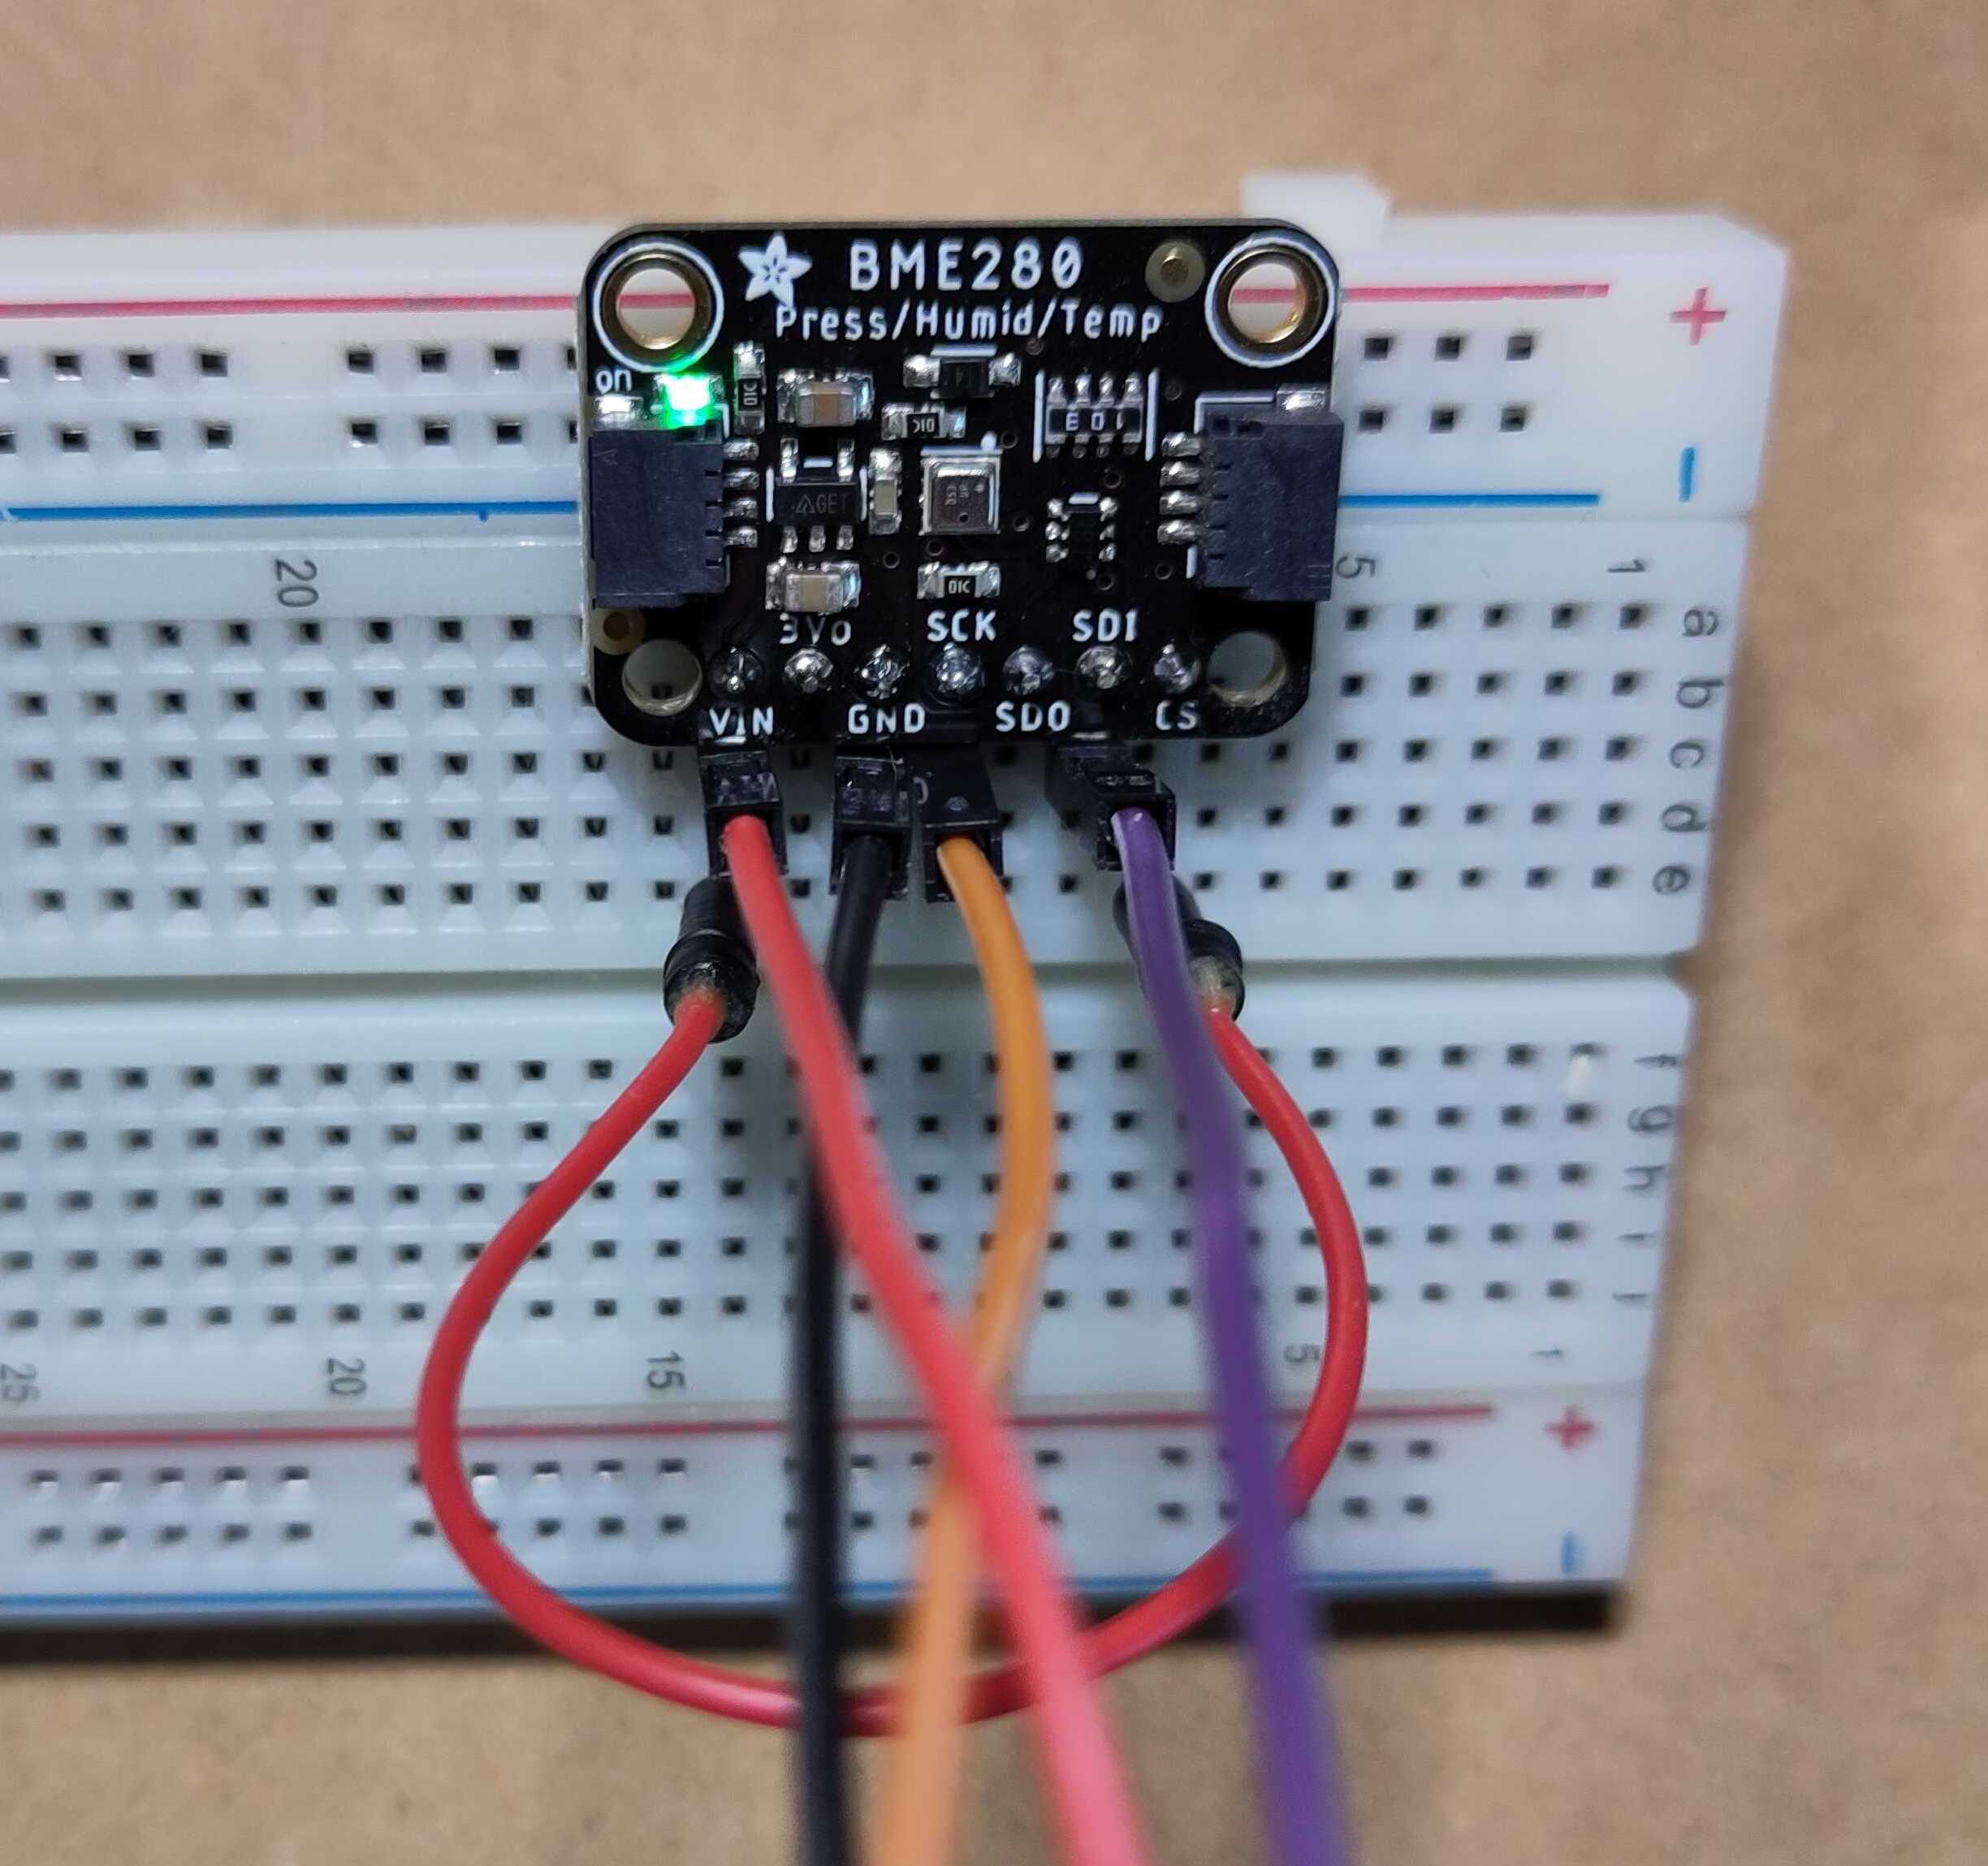
Wiring for I2C
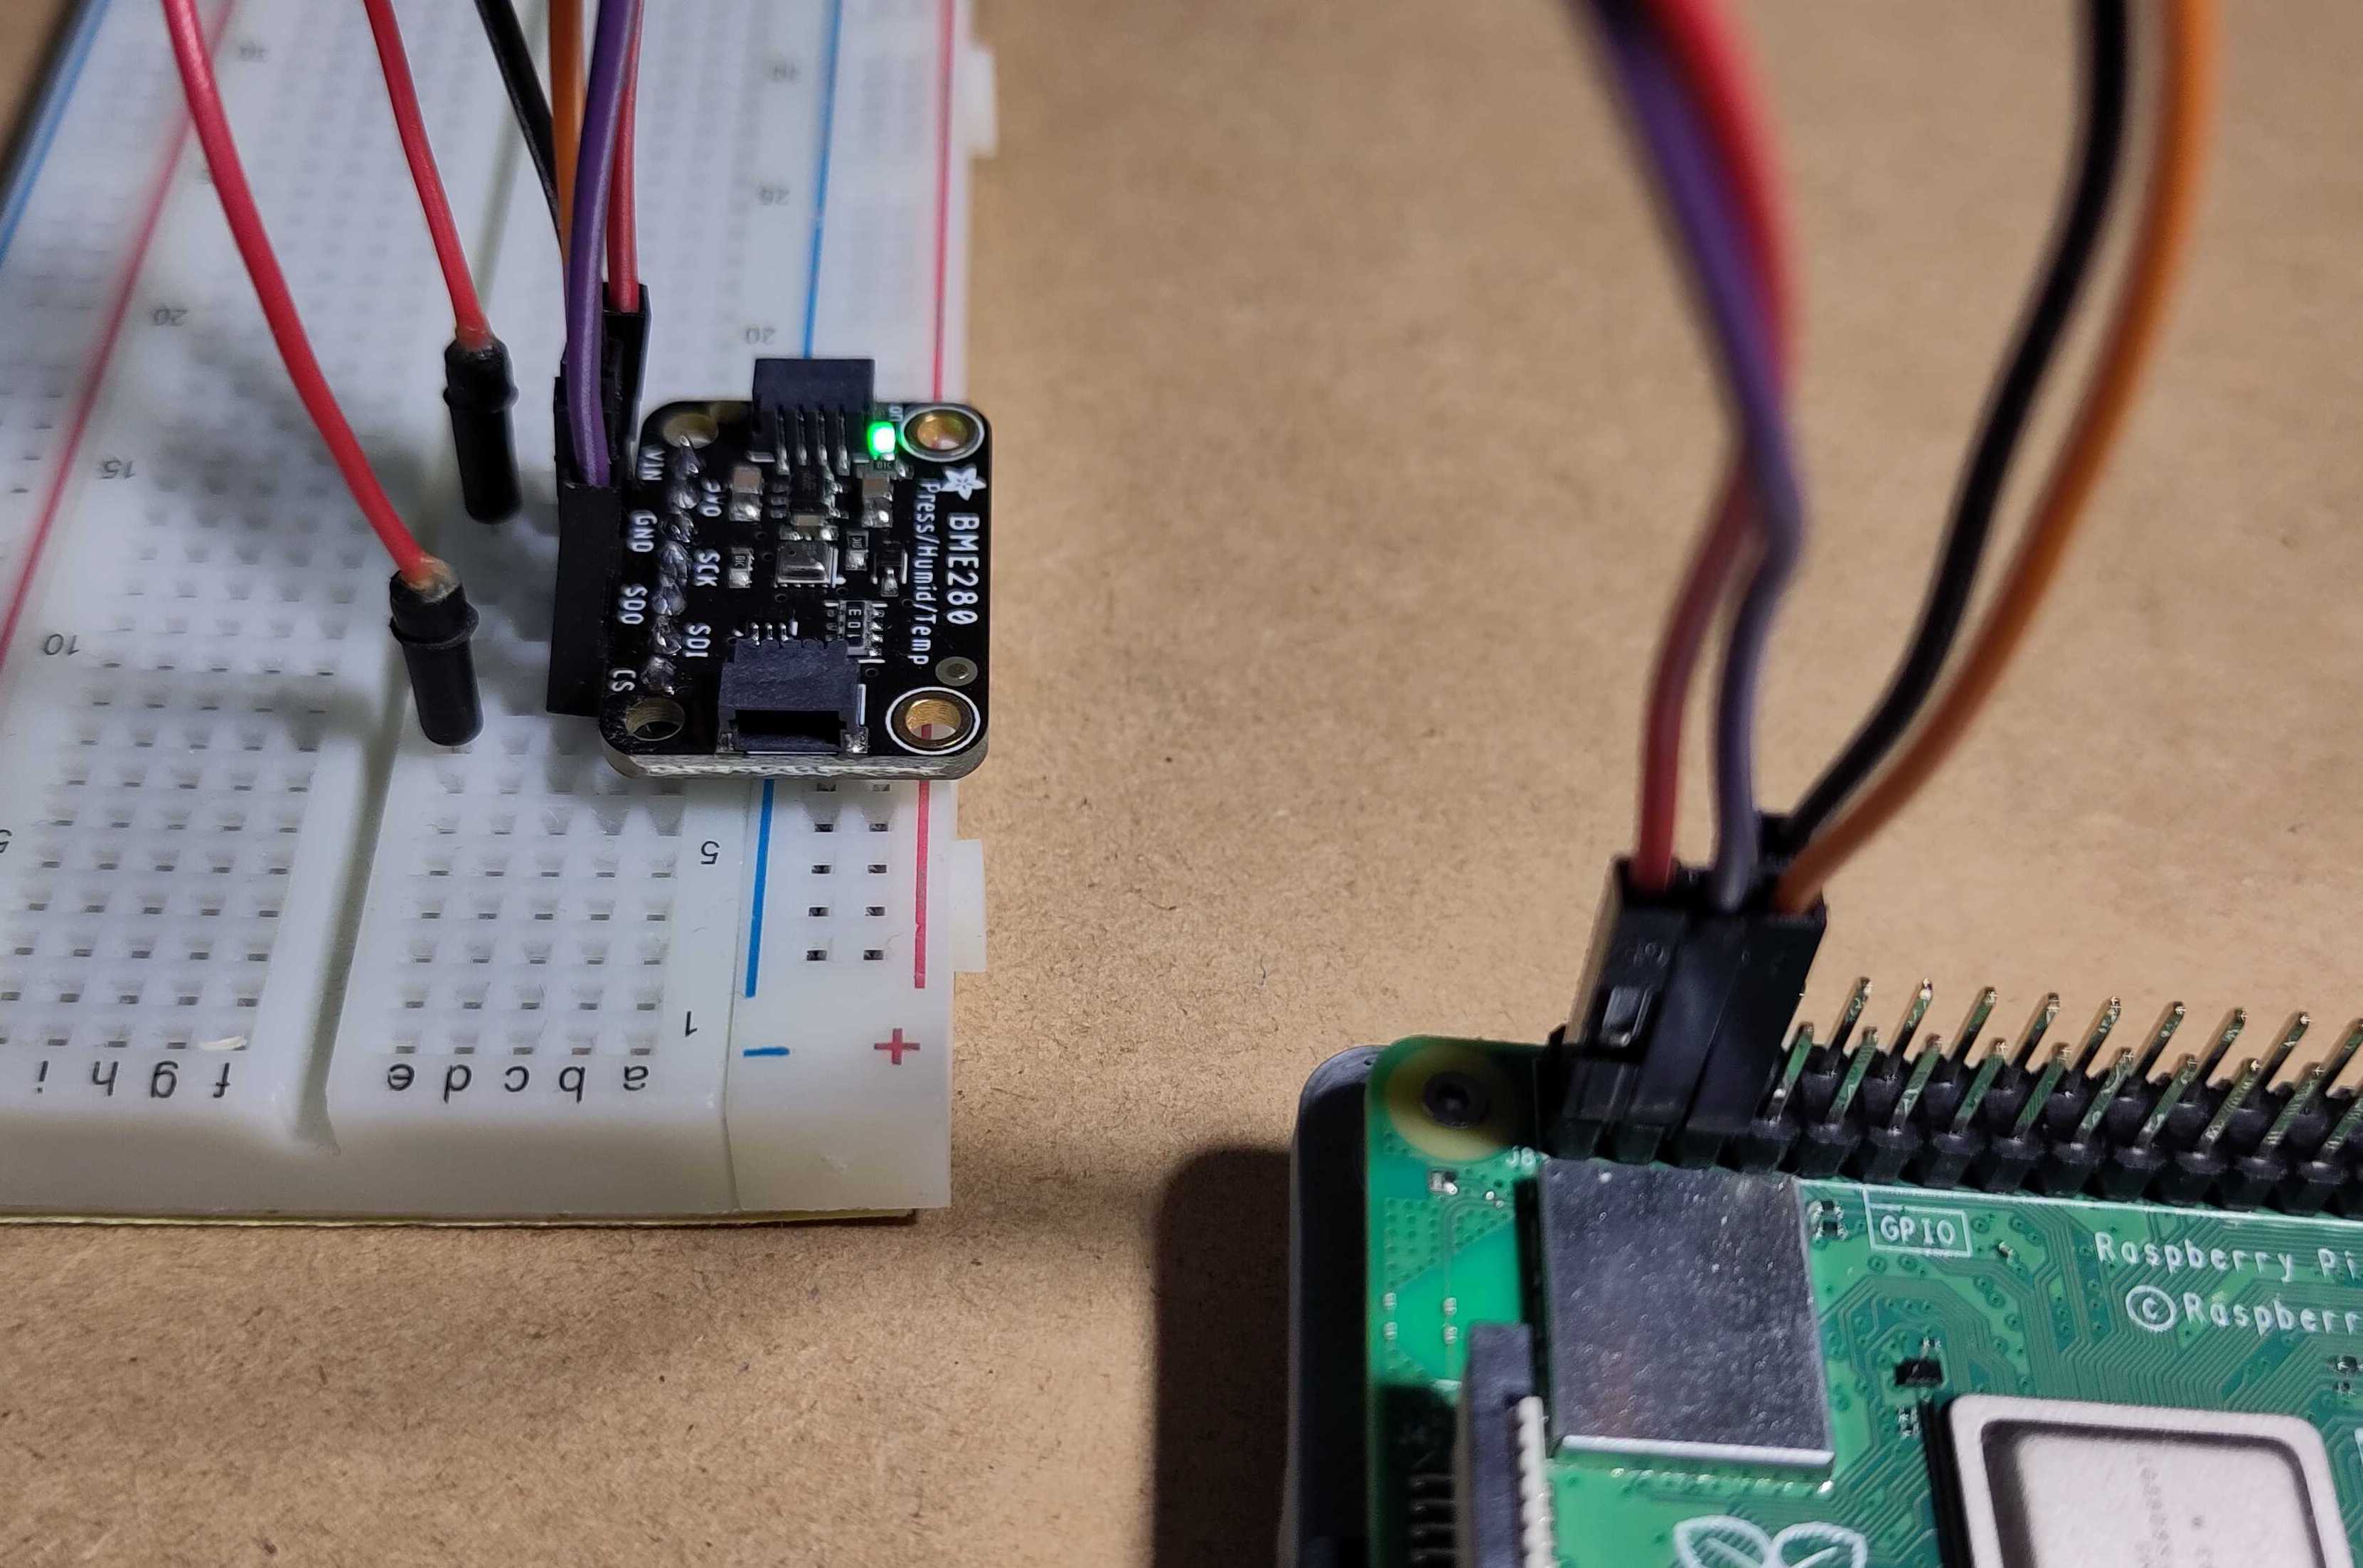
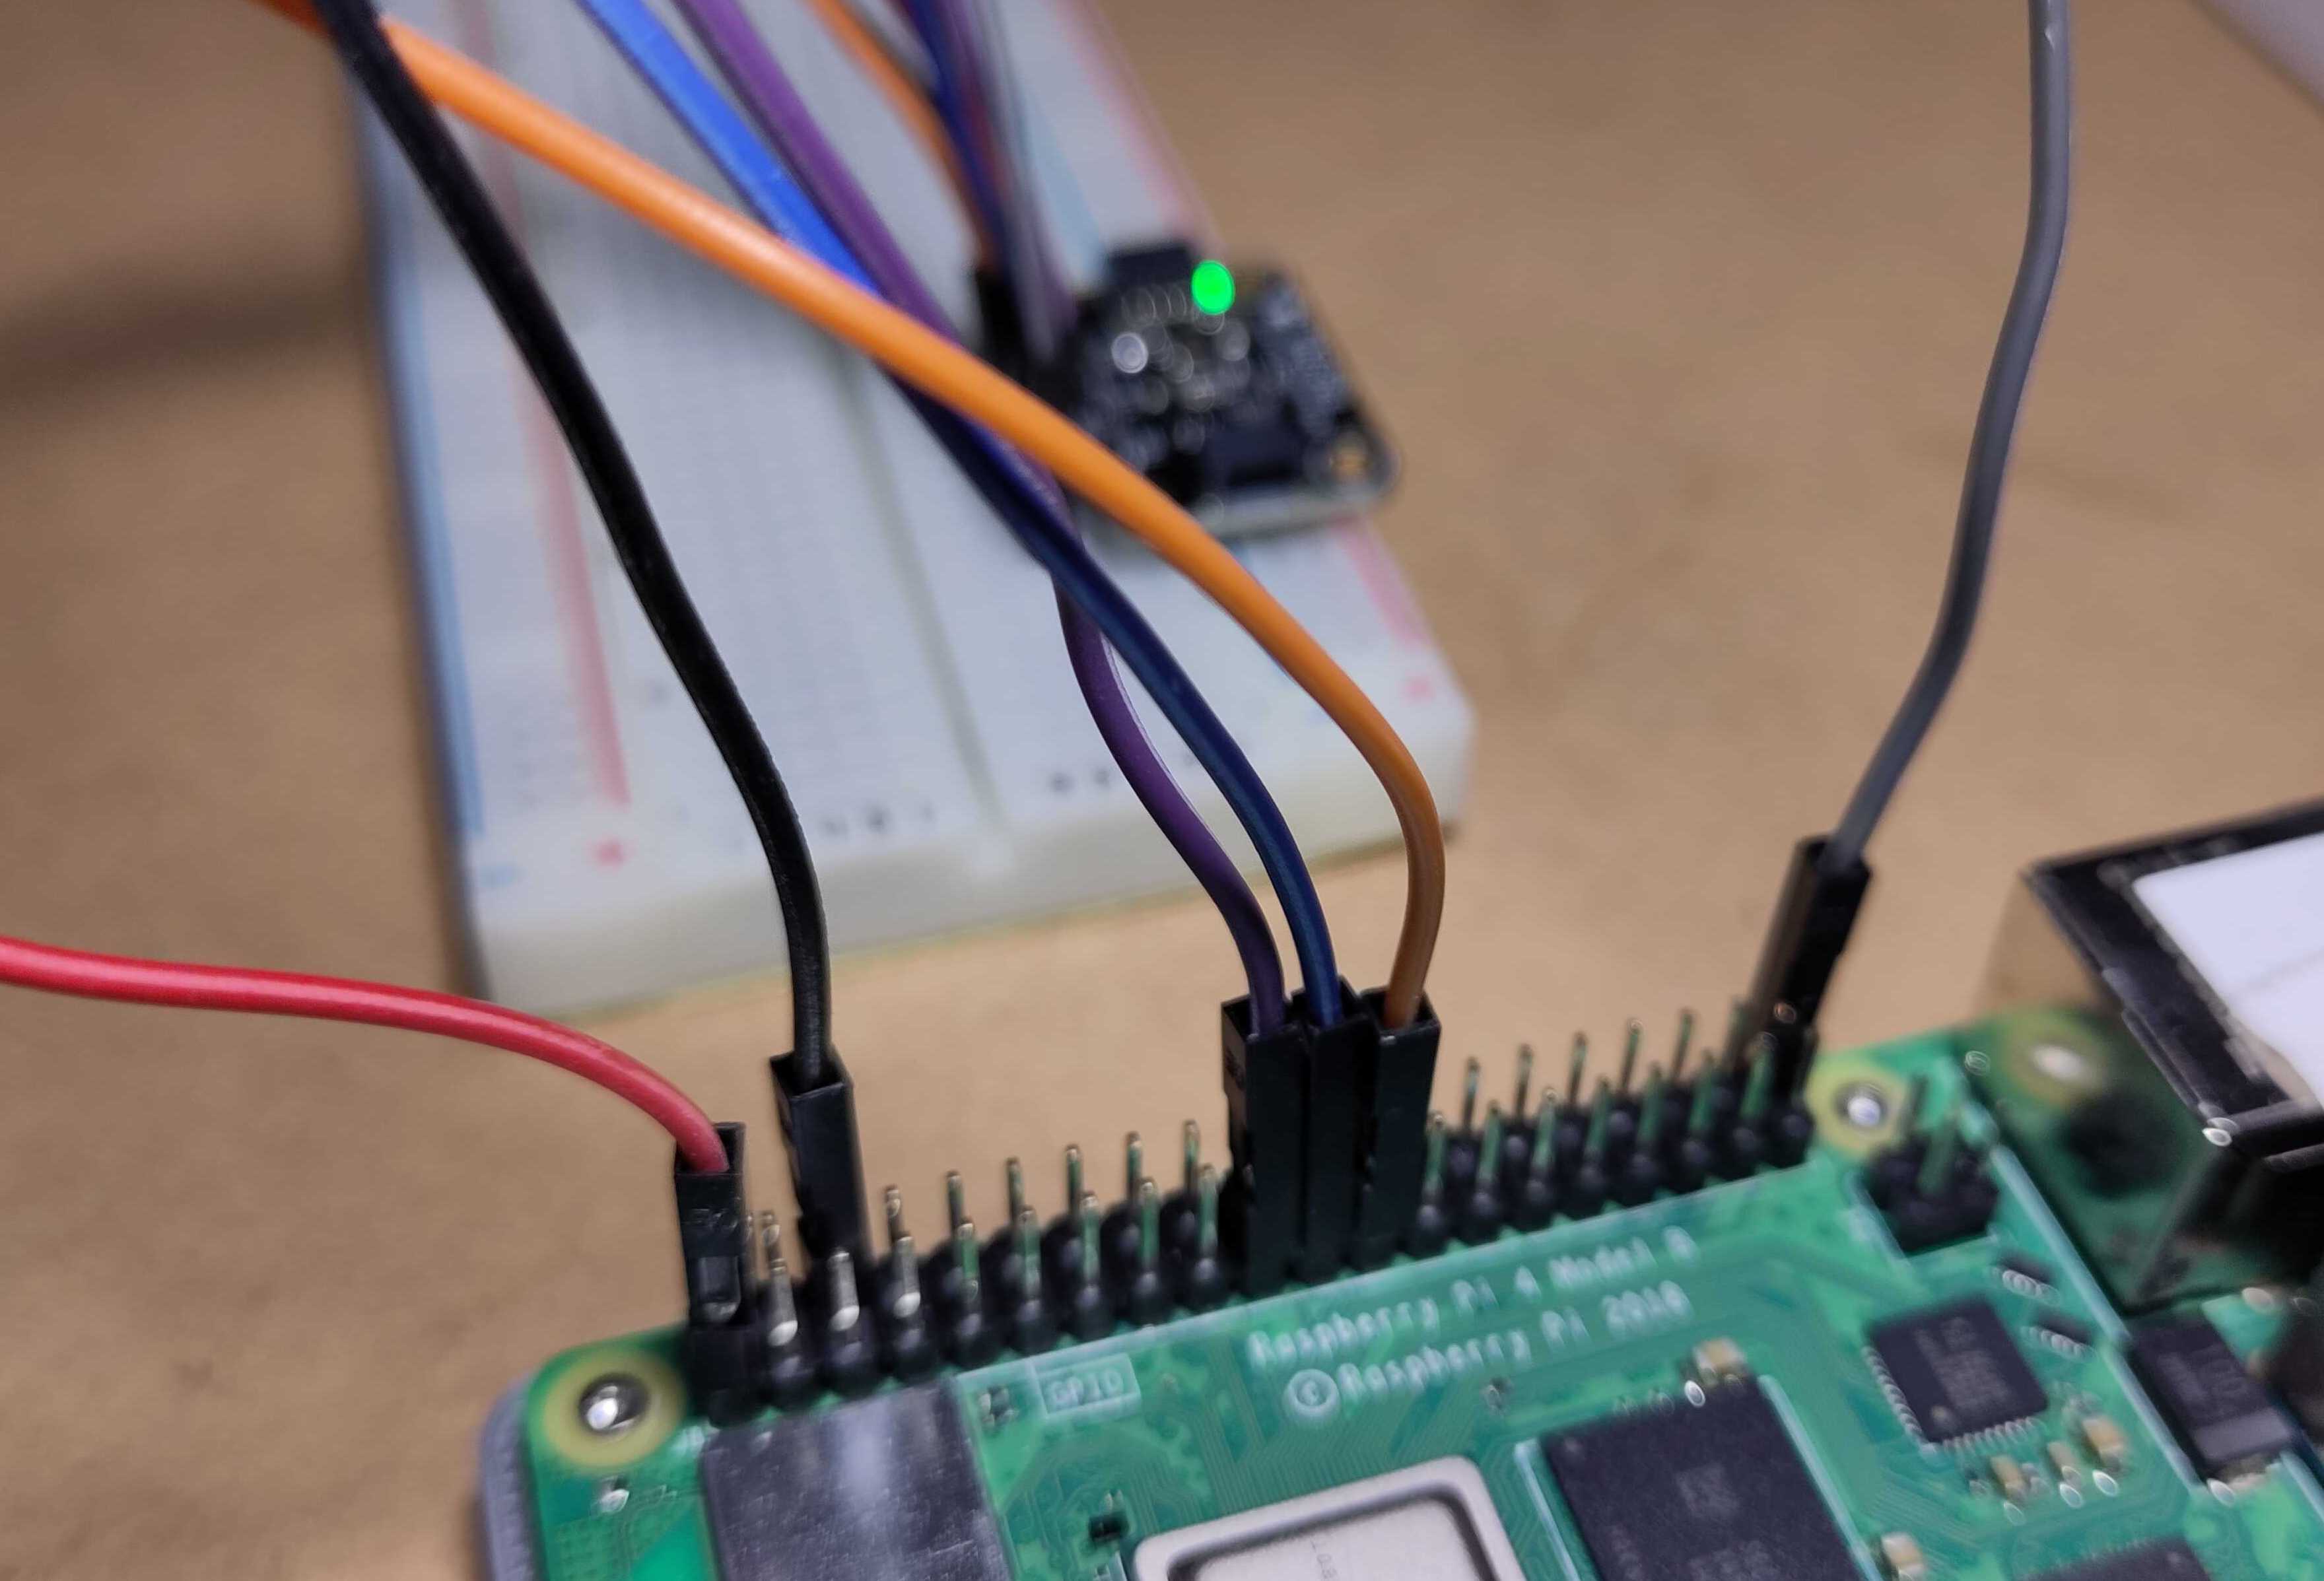
As this board can be controlled with both I2C and SPI, there are more available connections than we need for I2C. Make the following connections between the BME280 and a Raspberry Pi:
- Vin to 3.3V
- GND to GND
- SCK to I2C clock SCL (pin 5)
- SDI to I2C data SDA (pin 3)
- CS to 3.3V
The connection order is documented in the datasheet, and mentions that a connection between the CS pin and 3.3V is required to enable the I2C interface, before the VCC pin is connected to 3.3V. Failure to do this could lead to frustrating debugging…
In the wiring diagram, another brand of board (Sparkfun) is used, which has the I2C and SPI connections on different sides, but to align it with the pictures, the same connections are used as are available on the Adafruit board.

Check the I2C Wiring
After the wiring has been completed, you can check if the device is connected correctly by checking if the I2C device is detected. Make sure I2C is enabled on the Raspberry Pi, as mentioned before. When everything went OK, you should now see that a device is detected on I2C address 0x77:
$ i2cdetect -y 1
    0  1  2  3  4  5  6  7  8  9  a  b  c  d  e  f
00:                         -- -- -- -- -- -- -- --
10: -- -- -- -- -- -- -- -- -- -- -- -- -- -- -- --
20: -- -- -- -- -- -- -- -- -- -- -- -- -- -- -- --
30: -- -- -- -- -- -- -- -- -- -- -- -- -- -- -- --
40: -- -- -- -- -- -- -- -- -- -- -- -- -- -- -- --
50: -- -- -- -- -- -- -- -- -- -- -- -- -- -- -- --
60: -- -- -- -- -- -- -- -- -- -- -- -- -- -- -- --
70: -- -- -- -- -- -- -- 77
On modern Raspberry Pi OS releases, you can run this command without sudo. The -y disables interactive mode, so it just goes ahead and scans. The 1 specifies the I2C bus.
Wiring for SPI
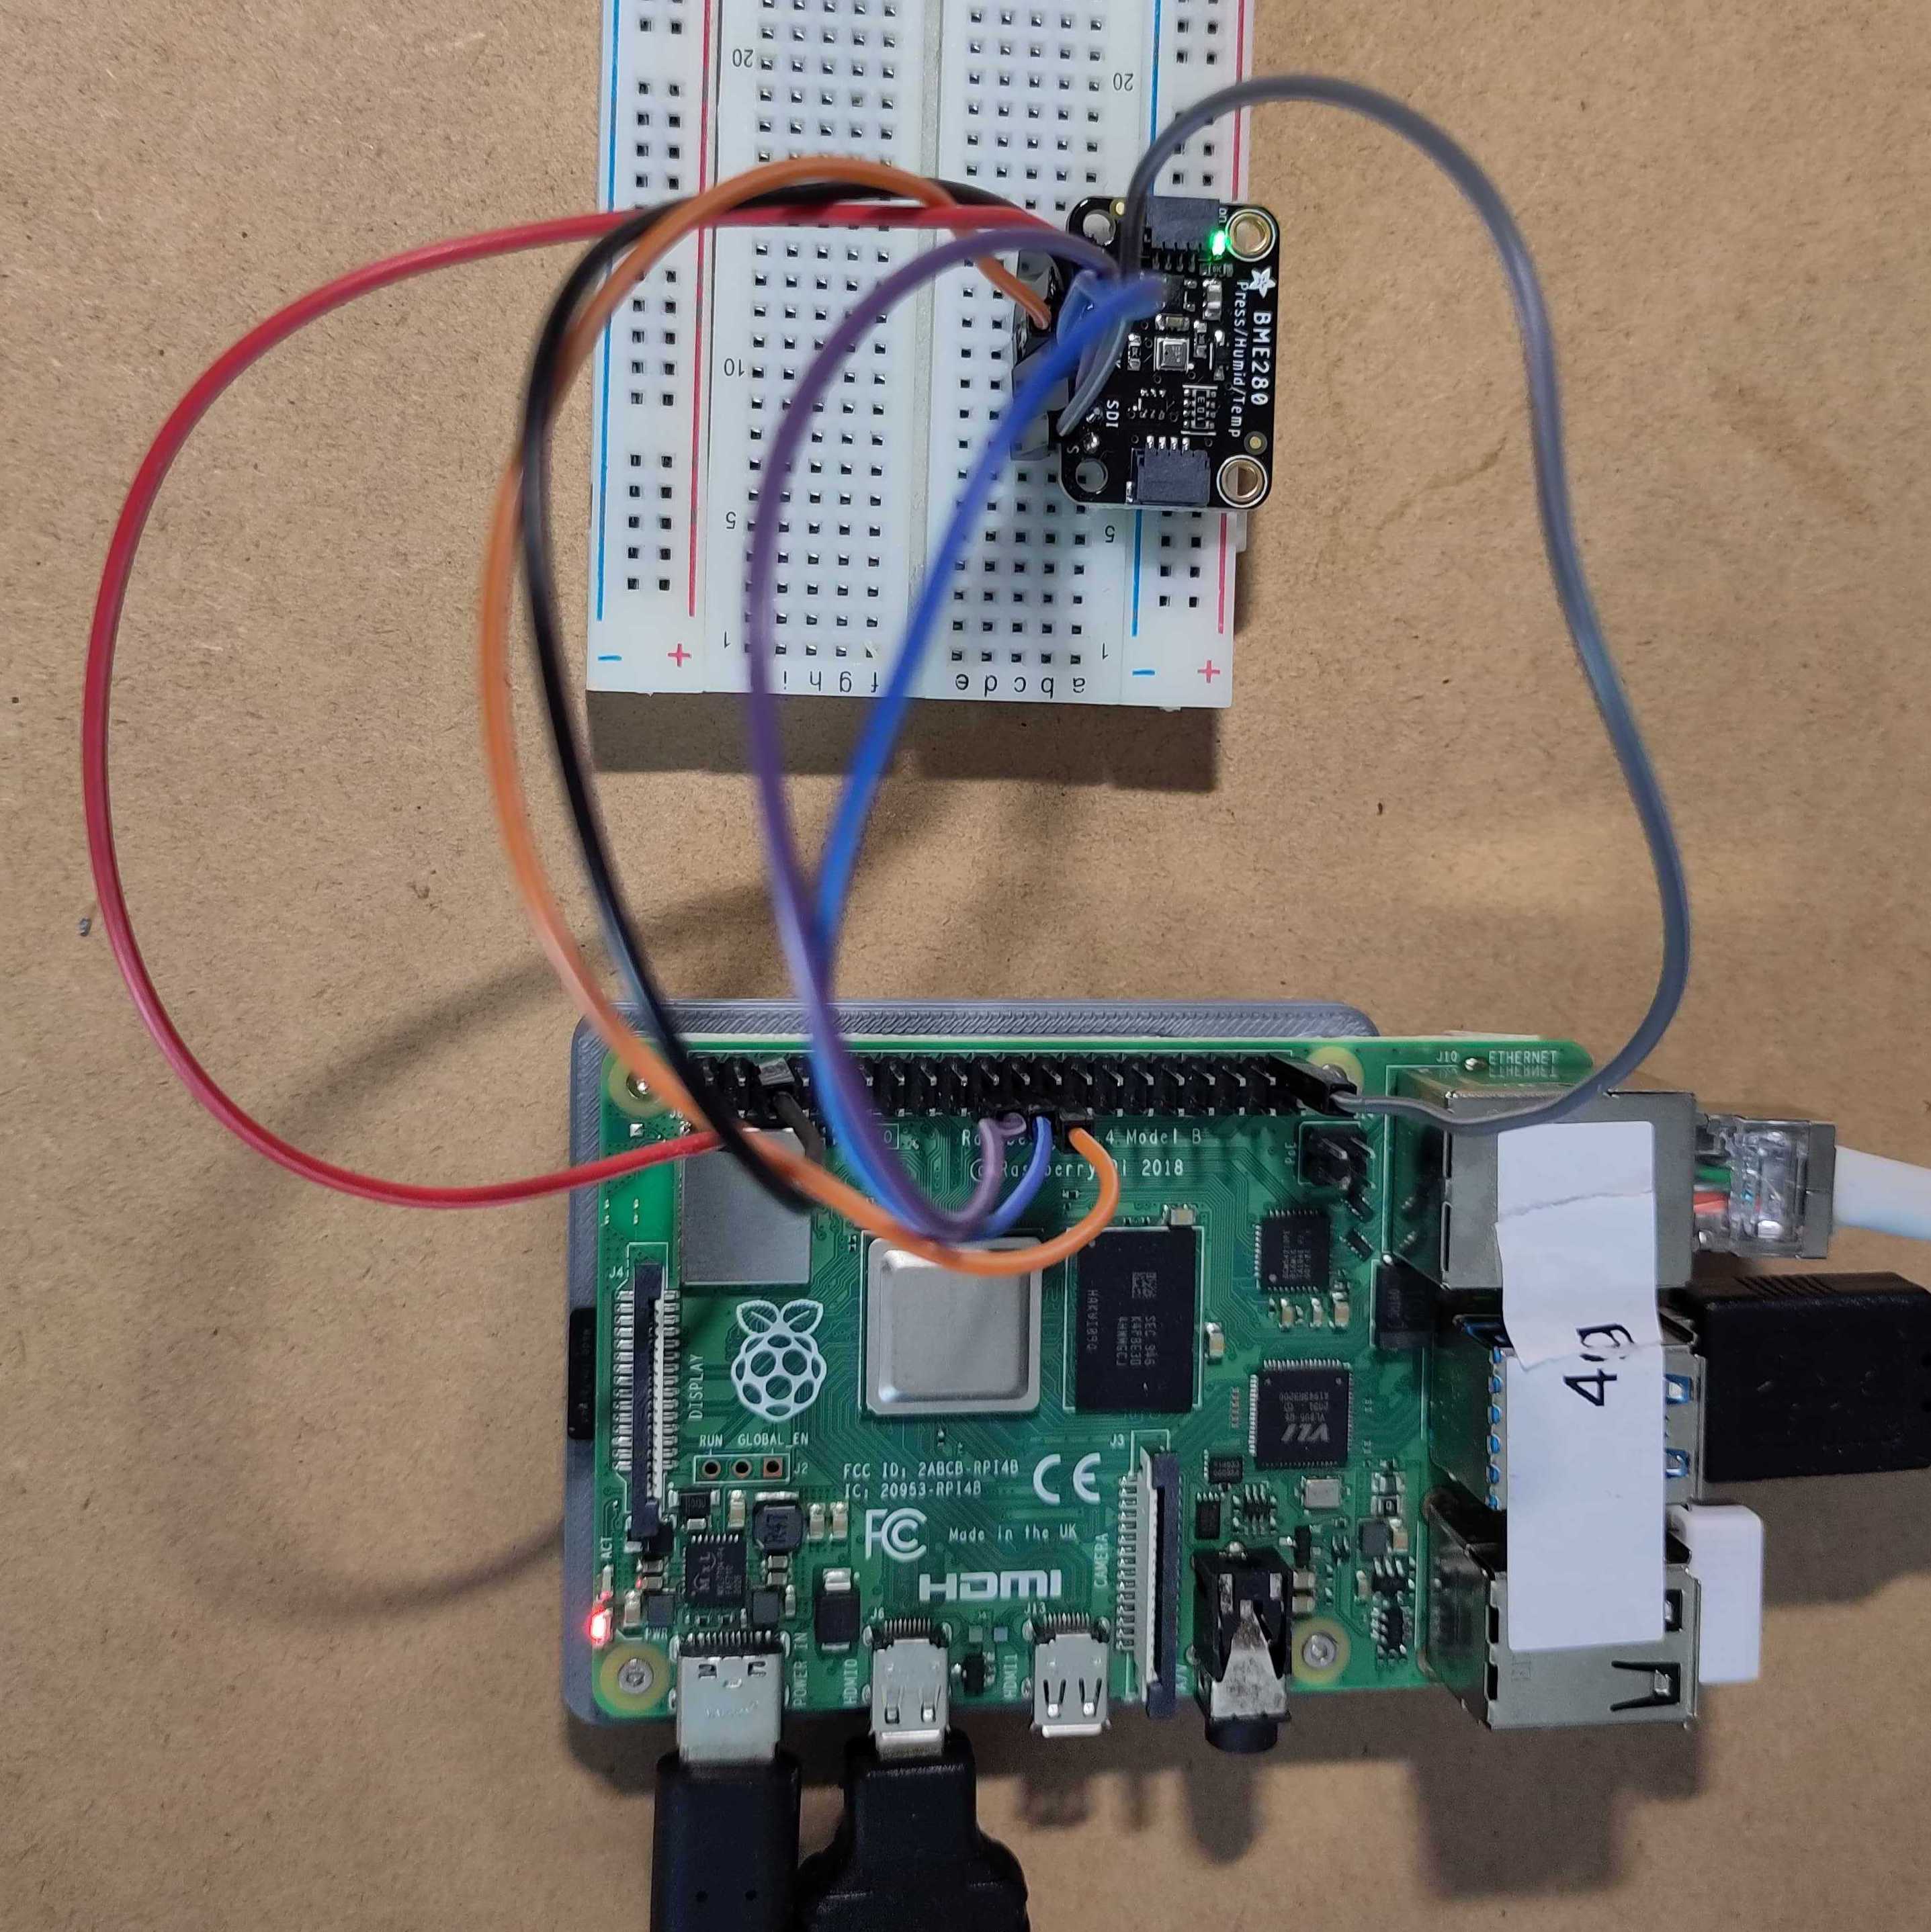
Make the following connections between the BME280 and a Raspberry Pi:
- Vin to 3.3V
- GND to GND
- SDI to MOSI (BCM10, pin 19)
- SDO to MISO (BCM9, pin 21)
- SCK to SCLK (BCM11, pin 23)
- CS to BCM21 (pin 40)
In the wiring diagram, another brand of board (Sparkfun) is used, which has the I2C and SPI connections on different sides, but to align it with the pictures, the same connections are used as are available on the Adafruit board.

Application
Before proceeding with this example, make sure that you have a Raspberry Pi prepared to execute Java code with JBang as explained here.
Because I2C and SPI require different dependencies, imports and settings, two separate example files are provided:
- Pi4JTempHumPressI2C.java
- Pi4JTempHumPressSpi.java
Each of these two files contain all settings and code to be compiled and executed with JBang.
Dependencies and Imports
First we need to start with an extra line to instruct JBang to handle it as a Java application, and download the dependencies.
///usr/bin/env jbang "$0" "$@" ; exit $?
Then we can define the dependencies and imports.
Dependencies and Imports for I2C
//DEPS org.slf4j:slf4j-api:1.7.35
//DEPS org.slf4j:slf4j-simple:1.7.35
//DEPS com.pi4j:pi4j-core:2.3.0
//DEPS com.pi4j:pi4j-plugin-raspberrypi:2.3.0
//DEPS com.pi4j:pi4j-plugin-linuxfs:2.3.0
Then we can define the imports as we would do in any Java file:
import com.pi4j.Pi4J;
import com.pi4j.util.Console;
import com.pi4j.io.i2c.I2C;
import com.pi4j.io.i2c.I2CConfig;
import com.pi4j.io.i2c.I2CProvider;
import java.text.DecimalFormat;
Dependencies and Imports for SPI
///usr/bin/env jbang "$0" "$@" ; exit $?

//DEPS org.slf4j:slf4j-api:1.7.35
//DEPS org.slf4j:slf4j-simple:1.7.35
//DEPS com.pi4j:pi4j-core:2.3.0
//DEPS com.pi4j:pi4j-plugin-raspberrypi:2.3.0
//DEPS com.pi4j:pi4j-plugin-linuxfs:2.3.0
//DEPS com.pi4j:pi4j-plugin-pigpio:2.3.0
Then we can define the imports as we would do in any Java file:
import com.pi4j.Pi4J;
import com.pi4j.io.gpio.digital.DigitalOutput;
import com.pi4j.io.gpio.digital.DigitalState;
import com.pi4j.io.spi.*;
import com.pi4j.util.Console;
import java.text.DecimalFormat;
Main Method
The main method initializes the sensor, and loops 10 times to the process of resetting the sensor, reading the values, and pauzing.
Main Method for I2C
    private static final Console console = new Console(); // Pi4J Logger helper

    private static final int I2C_BUS = 0x01;
    private static final int I2C_ADDRESS = 0x77; // When connecting SDO to GND = 0x76

    public static void main(String[] args) throws Exception {

        var pi4j = Pi4J.newAutoContext();

        // Initialize I2C
        console.println("Initializing the sensor via I2C");
        I2CProvider i2CProvider = pi4j.provider("linuxfs-i2c");
        I2CConfig i2cConfig = I2C.newConfigBuilder(pi4j)
                .id("BME280")
                .bus(I2C_BUS)
                .device(I2C_ADDRESS)
                .build();

        // Read values 10 times
        try (I2C bme280 = i2CProvider.create(i2cConfig)) {
            for (int counter = 0; counter < 10; counter++) {
                console.println("**************************************");
                console.println("Reading values, loop " + (counter + 1));

                resetSensor(bme280);

                // The sensor needs some time to make the measurement
                Thread.sleep(300);

                getMeasurements(bme280);

                Thread.sleep(5000);
            }
        }

        pi4j.shutdown();

        console.println("**************************************");
        console.println("Finished");
    }
Main Method for SPI
    private static final Console console = new Console(); // Pi4J Logger helper

    private static final String SPI_PROVIDER_NAME = "BME280 SPI Provider";
    private static final String SPI_PROVIDER_ID = "BME280-spi";

    private static final SpiChipSelect chipSelect = SpiChipSelect.CS_0;
    private static final SpiBus spiBus = SpiBus.BUS_0;
    private static final int csPin = 21; // BCM 21 = physical pin 40
    private static DigitalOutput csGpio;
    private static Spi spi;

    public static void main(String[] args) throws Exception {
        var pi4j = Pi4J.newAutoContext();

        // Initialize SPI
        console.println("Initializing the sensor via SPI");

        var csGpioConfig = DigitalOutput.newConfigBuilder(pi4j)
                .id("CS_pin")
                .name("CS")
                .address(csPin)
                .shutdown(DigitalState.HIGH)
                .initial(DigitalState.HIGH)
                .provider("pigpio-digital-output");
        csGpio = pi4j.create(csGpioConfig);

        var spiConfig = Spi.newConfigBuilder(pi4j)
                .id(SPI_PROVIDER_ID)
                .name(SPI_PROVIDER_NAME)
                .bus(spiBus)
                .chipSelect(chipSelect)
                .baud(Spi.DEFAULT_BAUD)
                .mode(SpiMode.MODE_0)
                .provider("pigpio-spi")
                .build();
        spi = pi4j.create(spiConfig);

        // Read values 10 times
        for (int counter = 0; counter < 10; counter++) {
            console.println("**************************************");
            console.println("Reading values, loop " + (counter + 1));

            resetSensor();

            // The sensor needs some time to make the measurement
            Thread.sleep(300);

            getMeasurements();

            Thread.sleep(5000);
        }

        pi4j.shutdown();

        console.println("**************************************");
        console.println("Finished");
    }
Reset and Readout of the Values
The reset and value readout is inspired by the Adafruit CircuitPython library and is fully available in the sources on GitHub. It’s a combination of setting and reading registers, with different calculations. For example, for the temperature:
byte[] buff = new byte[6];
device.readRegister(BMP280Declares.press_msb, buff);
long adc_T =  (long)  ((buff[3] & 0xFF) << 12) |  (long)  ((buff[4] & 0xFF) << 4) |  (long) ((buff[5] & 0x0F) >> 4);

...

DecimalFormat df = new DecimalFormat("0.###");

// Temperature
device.readRegister(readReg, compVal);
long dig_t1 = castOffSignInt(compVal);

device.readRegister(BMP280Declares.reg_dig_t2, compVal);
int dig_t2 = signedInt(compVal);

device.readRegister(BMP280Declares.reg_dig_t3, compVal);
int dig_t3 = signedInt(compVal);

double var1 = (((double) adc_T) / 16384.0 - ((double) dig_t1) / 1024.0) * ((double) dig_t2);
double var2 = ((((double) adc_T) / 131072.0 - ((double) dig_t1) / 8192.0) *
(((double) adc_T) / 131072.0 - ((double) dig_t1) / 8192.0)) * ((double) dig_t3);
double t_fine = (int) (var1 + var2);
double temperature = (var1 + var2) / 5120.0;

console.println("Temperature: " + df.format(temperature) + " °C");
console.println("Temperature: " + df.format(temperature* 1.8 + 32) + " °F ");
Running the Application
Because JBang can download the dependencies and compile the code, we just need the Java-file to execute it.
A side note regarding the humidity value: it turned out its value was lower compared to another device, while the temperature and pressure seemed to be close to expected. This appears to be a known issue. The manufacturer was involved in some hits and admits the chip can fall out of calibration depending storage and soldering conditions. They have a documented multistep process where you store the chip at different temperatures to potentially get it back to the correct humidity readout.
Running the I2C Application
The I2C example uses the LinuxFS plugin of Pi4J. This means it can be executed without the need to use sudo:
$ jbang Pi4JTempHumPressI2C.java

[jbang] Resolving dependencies...
[jbang]    org.slf4j:slf4j-api:1.7.35
[jbang]    org.slf4j:slf4j-simple:1.7.35
[jbang]    com.pi4j:pi4j-core:2.3.0
[jbang]    com.pi4j:pi4j-plugin-raspberrypi:2.3.0
[jbang]    com.pi4j:pi4j-plugin-pigpio:2.3.0
[jbang]    com.pi4j:pi4j-plugin-linuxfs:2.3.0
[jbang] Dependencies resolved
[jbang] Building jar...
[main] INFO com.pi4j.Pi4J - New auto context
[main] INFO com.pi4j.Pi4J - New context builder
[main] INFO com.pi4j.platform.impl.DefaultRuntimePlatforms - adding platform to managed platform map [id=raspberrypi; name=RaspberryPi Platform; priority=5; class=com.pi4j.plugin.raspberrypi.platform.RaspberryPiPlatform]
[main] INFO com.pi4j.util.Console - Initializing the sensor via I2C
[main] INFO com.pi4j.util.Console - **************************************
[main] INFO com.pi4j.util.Console - Temperature: 21.287 °C
[main] INFO com.pi4j.util.Console - Temperature: 70.316 °F
[main] INFO com.pi4j.util.Console - Pressure: 100412.769 Pa
[main] INFO com.pi4j.util.Console - Pressure: 1.004 bar
[main] INFO com.pi4j.util.Console - Pressure: 0.991 atm
[main] INFO com.pi4j.util.Console - Humidity: 52.7 %
[main] INFO com.pi4j.util.Console - **************************************
[main] INFO com.pi4j.util.Console - Reading values, loop 2
...
[main] INFO com.pi4j.util.Console - **************************************
[main] INFO com.pi4j.util.Console - Finished
Running the SPI Application
As the PiGpio plugin is used, this example application must be executed with sudo:
$ sudo `which jbang` Pi4JTempHumPressSpi.java

[jbang] Resolving dependencies...
[jbang]    org.slf4j:slf4j-api:1.7.35
[jbang]    org.slf4j:slf4j-simple:1.7.35
[jbang]    com.pi4j:pi4j-core:2.3.0
[jbang]    com.pi4j:pi4j-plugin-raspberrypi:2.3.0
[jbang]    com.pi4j:pi4j-plugin-pigpio:2.3.0
[jbang]    com.pi4j:pi4j-plugin-linuxfs:2.3.0
[jbang]    com.pi4j:pi4j-plugin-pigpio:2.3.0
[jbang] Dependencies resolved
[jbang] Building jar...
[main] INFO com.pi4j.Pi4J - New auto context
[main] INFO com.pi4j.Pi4J - New context builder
[main] INFO com.pi4j.platform.impl.DefaultRuntimePlatforms - adding platform to managed platform map [id=raspberrypi; name=RaspberryPi Platform; priority=5; class=com.pi4j.plugin.raspberrypi.platform.RaspberryPiPlatform]
[main] INFO com.pi4j.util.Console - Initializing the sensor via SPI
[main] INFO com.pi4j.util.Console - **************************************
[main] INFO com.pi4j.util.Console - Reading values, loop 1
[main] INFO com.pi4j.util.Console - Temperature: 21.865 °C
[main] INFO com.pi4j.util.Console - Temperature: 71.356 °F
[main] INFO com.pi4j.util.Console - Pressure: 100419.804 Pa
[main] INFO com.pi4j.util.Console - Pressure: 1.004 bar
[main] INFO com.pi4j.util.Console - Pressure: 0.991 atm
[main] INFO com.pi4j.util.Console - Humidity: 49.74 %
[main] INFO com.pi4j.util.Console - **************************************
[main] INFO com.pi4j.util.Console - Reading values, loop 2
...
[main] INFO com.pi4j.util.Console - **************************************
[main] INFO com.pi4j.util.Console - Finished
Conclusion
Once again, JBang proves to be the perfect companion to experiment with Pi4J and an electronics component!
Read More
The following sources have been used for this example:
- Pi4J_V2-TemperatureSensor example code by Tom Aarts
- Bosch BMP280 Data Sheet
- Bosch BME280 Data Sheet
- Bosch example code on GitHub
- Product page: “Adafruit BME280 I2C or SPI Temperature Humidity Pressure Sensor - STEMMA QT”
- Tutorial with Arduino code: “Adafruit BME280 Humidity + Barometric Pressure + Temperature Sensor Breakout”
- Adafruit_CircuitPython_BME280 library source code