LCD Display
Description
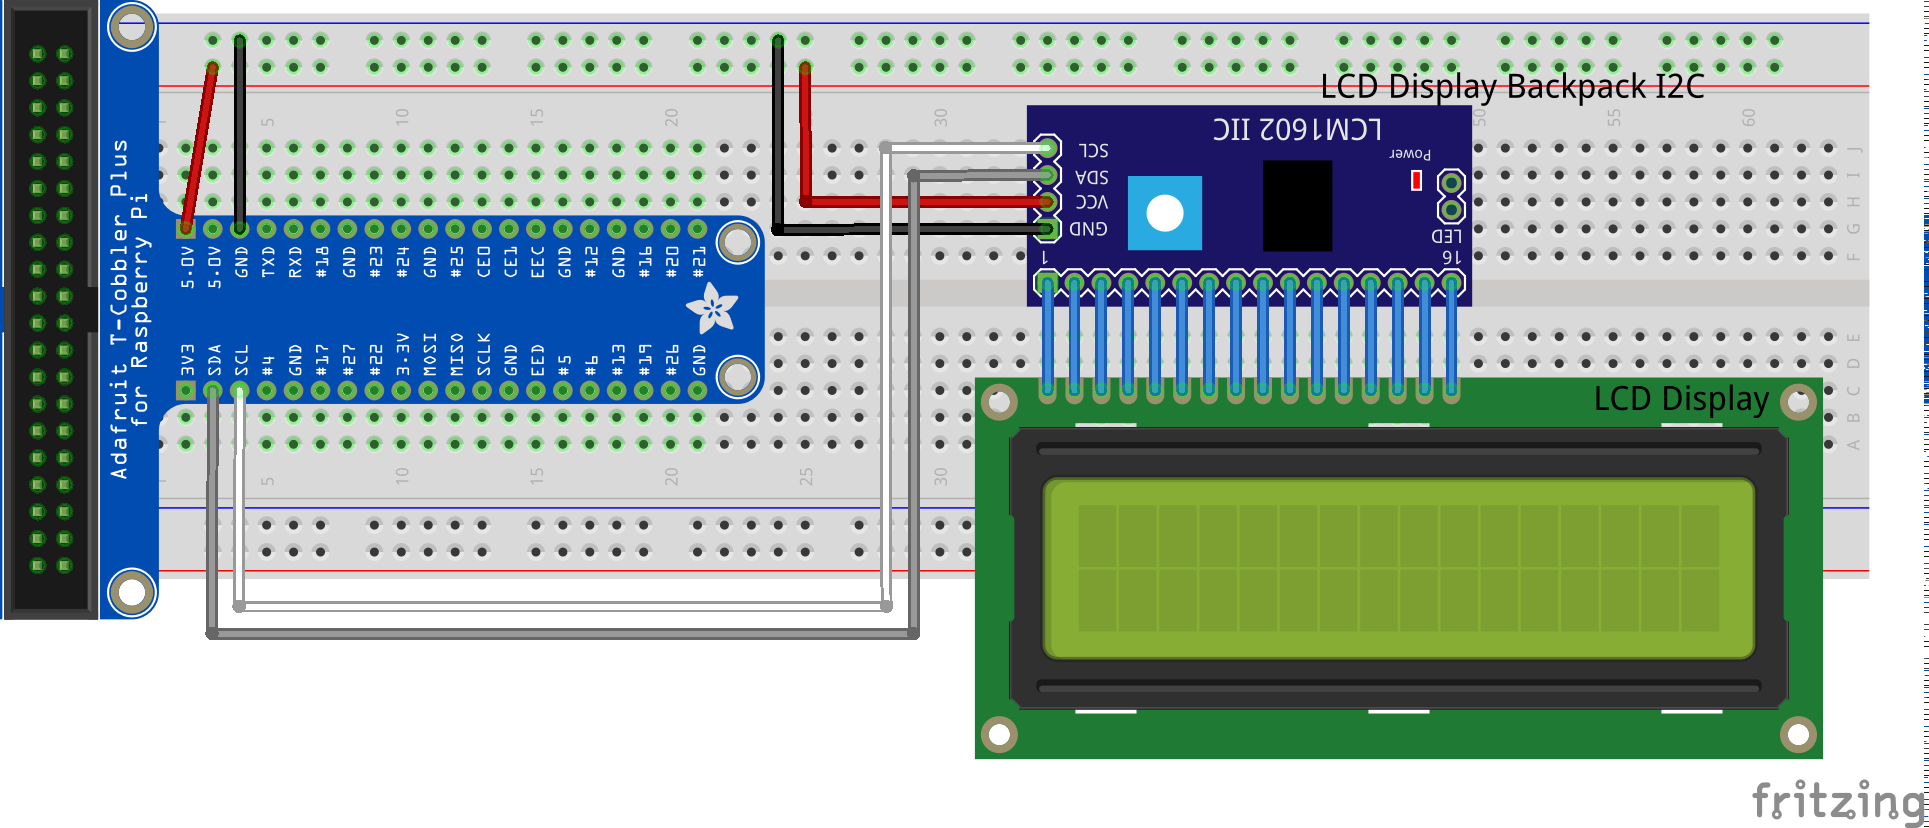
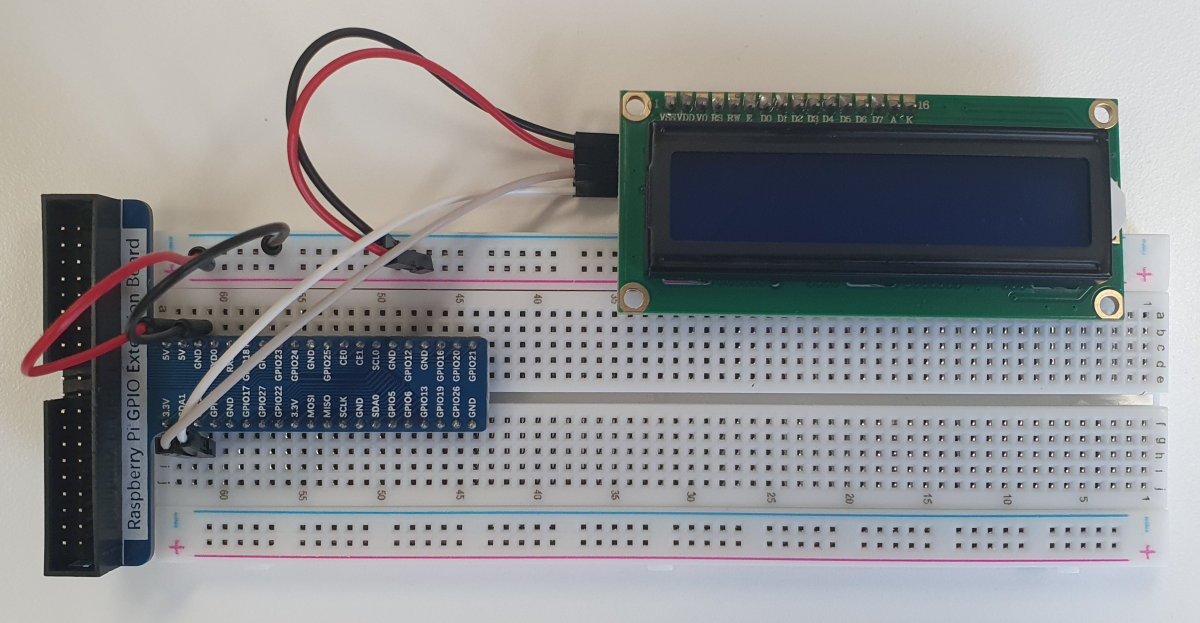
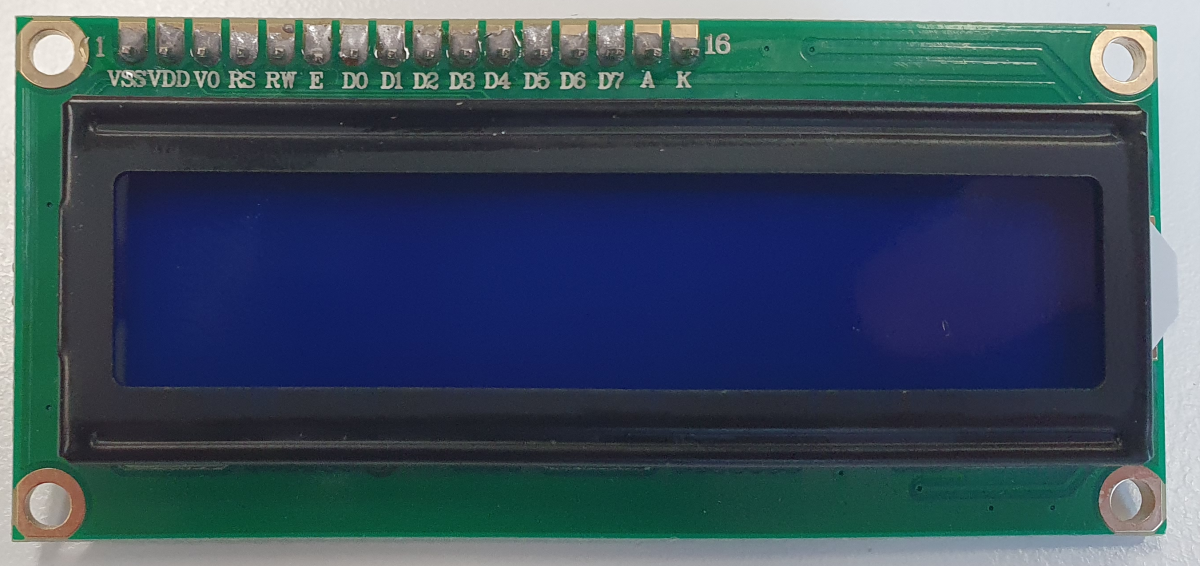
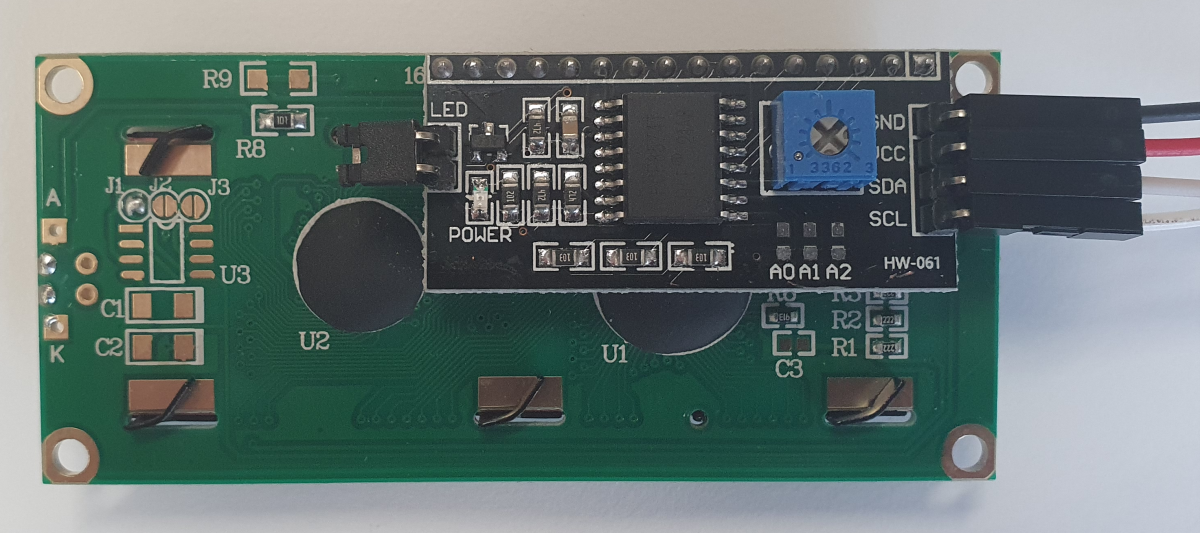
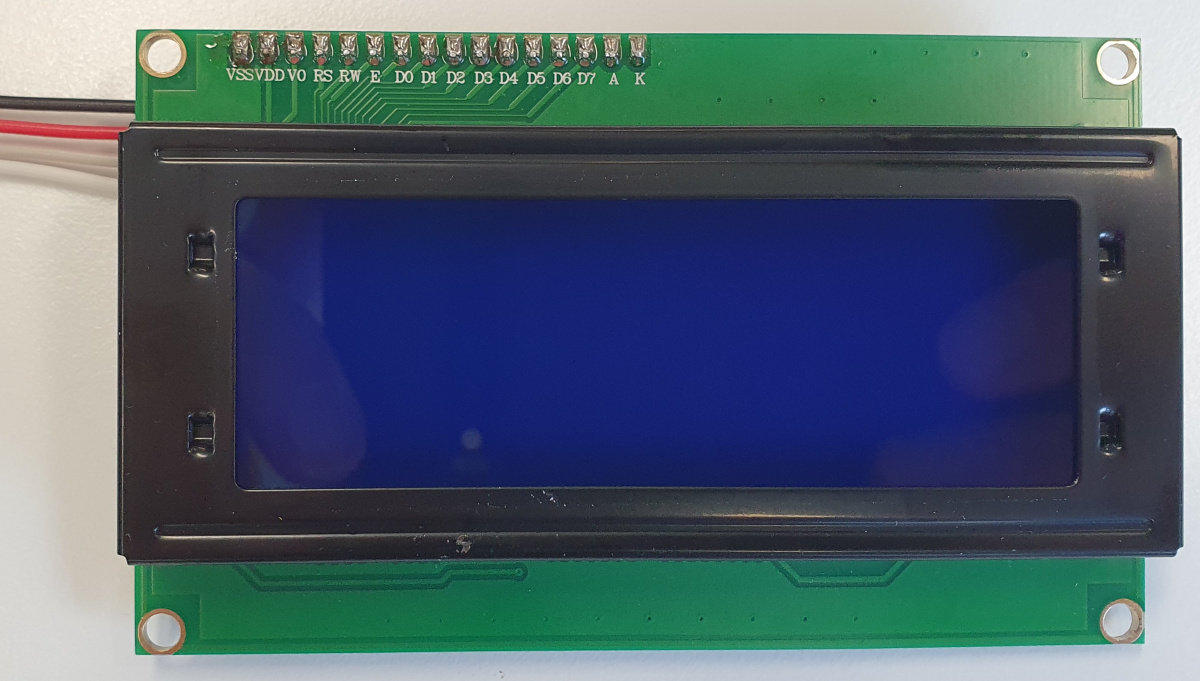
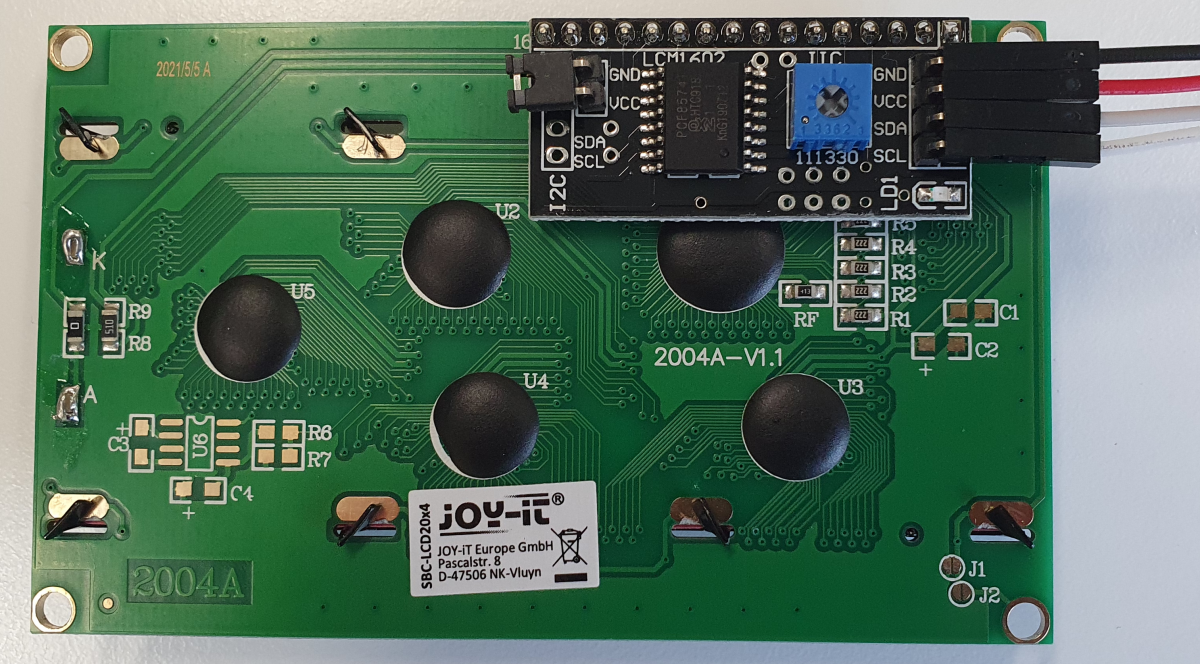
The LcdDisplay is a template class, that you can use in your own Java-project. It is used to show Numbers, Text and Symbols on a small Display. The Class supports only LCD Displays with the PCF8574T I2C Backpack. Supported display-dimensions are 40x2, 20x4, 20x2, 16x2, 16x1.
IF YOU CAN’T SEE ANYTHING WRITTEN ON THE DISPLAY, TRY TO SET THE CONTRAST BY TURNING THE CONTRAST-SCREW AT THE BACK WITH A SCREWDRIVER. Also, check if I2C is enabled in your raspberry-config.
Layout
Code
An example on how to use the LCD Display-Class from the Hardware-Catalog
The PI4J-Context must add the LinuxFsI2C Provider, which is explained under LinuxFS
pi4j = Pi4J.newContextBuilder()
	.noAutoDetect()
	.add(new RaspberryPiPlatform() {
		@Override
		protected String[] getProviders() {
			return new String[]{};
		}
	})
	.add(PiGpioDigitalInputProvider.newInstance(piGpio),
			PiGpioDigitalOutputProvider.newInstance(piGpio),
			PiGpioPwmProvider.newInstance(piGpio),
			PiGpioSerialProvider.newInstance(piGpio),
			PiGpioSpiProvider.newInstance(piGpio),
			LinuxFsI2CProvider.newInstance()
	)
	.build();
When the right Context is loaded, you can use the Display like following:
public class LcdDisplay_App implements Application {
    @Override
    public void execute(Context pi4j) {
        System.out.println("LCD demo started");

        //Create a Component, with amount of ROWS and COLUMNS of the device
        //LcdDisplay lcd = new LcdDisplay(pi4j); //2x16 is default
        LcdDisplay lcd = new LcdDisplay(pi4j, 4, 20);

        // Write text to specific position
        lcd.displayLineOfText("Hello" , 0);
        lcd.displayLineOfText("World!", 1, 3);

        // Wait a little to have some time to read it
        delay(Duration.ofSeconds(3));

        lcd.clearDisplay();

        lcd.centerTextInLine("Hi", 0);

        delay(Duration.ofSeconds(1));

        // To write some text there are different methods. The simplest one is this one which automatically inserts
        // linebreaks if needed.
        lcd.displayText("Boohoo that's so simple to use!");
        delay(Duration.ofSeconds(3));

        // Of course, it is also possible to use linebreaks
        lcd.displayText("Some big text \nwith a new line\nonly displayed on 4 row LCD");
        delay(Duration.ofSeconds(4));

        // Long text are cut to the bone
        lcd.displayText("Some big text with no new lines, just to test how many lines will get filled");
        delay(Duration.ofSeconds(4));

        // Clear the display to start next parts
        lcd.clearDisplay();

        // Let's try to draw a house.
        // To keep this method short and clean we create the characters in a separate method below.
        createCharacters(lcd);

        // Now all characters are ready. Just draw them on the right place by moving the cursor and writing the
        // created characters to specific positions
        lcd.writeCharacter('\1', 0, 1);
        lcd.writeCharacter('\2', 0, 2);
        lcd.writeCharacter('\3', 1, 1);
        lcd.writeCharacter('\4', 1, 2);

        delay(Duration.ofSeconds(3));

        // we've built a rolling home
        for (int i = 0; i < 5; i++) {
            lcd.scrollRight();
            delay(Duration.ofSeconds(1));
        }

        for (int i = 0; i < 5; i++) {
            lcd.scrollLeft();
            delay(Duration.ofSeconds(1));
        }

        lcd.reset();
        System.out.println("LCD demo finished");
    }

    public void createCharacters(LcdDisplay lcd) {
        // Create upper left part of the house
        lcd.createCharacter(1, new byte[]{
                0b00000,
                0b00000,
                0b00000,
                0b00001,
                0b00011,
                0b00111,
                0b01111,
                0b11111
        });

        // Create upper right part of the house
        lcd.createCharacter(2, new byte[]{
                0b00000,
                0b00000,
                0b00010,
                0b10010,
                0b11010,
                0b11110,
                0b11110,
                0b11111
        });

        // Create lower left part of the house
        lcd.createCharacter(3, new byte[]{
                0b11111,
                0b11111,
                0b11111,
                0b11111,
                0b10001,
                0b10001,
                0b10001,
                0b10001
        });

        // Create lower right part of the house
        lcd.createCharacter(4, new byte[]{
                0b11111,
                0b11111,
                0b11111,
                0b10001,
                0b10001,
                0b10001,
                0b11111,
                0b11111
        });
    }
}
If you want to create an own character or symbol, then use the following tutorial. Right at the bottom, you can click on the bitmap to see the byte-code. Create an own Symbol
Further application
The class is implemented in the sample project Photobooth.
Further project ideas
- A Temperature Sensor hooked to a display, where it constantly shows how warm it is
- A microphone, which listens what is said, and writing on the display what is said